How to Zip Files Using Command Prompt
This guide explains how to zip files using the command prompt. You can zip files…

In this article, we have explained how to utilize the skeleton directory in WHM. The Skeleton directory serves as the storage space for the temporary homepages of newly created users in WHM by reseller-hosting providers.
Follow these steps to navigate-
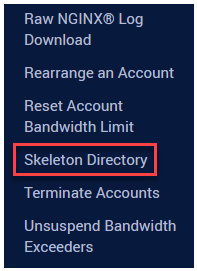
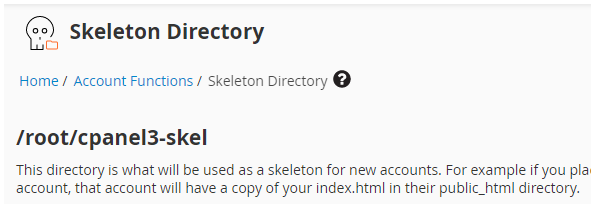
This method allows you to utilize the skeleton directory in WHM. We hope you found this article helpful. For more details, read the [How to Change the Hostname of Server in WHM] here.

Explore more hosting insights, tips and industry updates.
This guide explains how to zip files using the command prompt. You can zip files…
In this post, you will find how to use QR codes as a two-factor authentication…
The following tutorial explains how to change the permission for a file in cPanel. The…