How to Configure cPanel’s Spam Filtering

December 29, 2022 / cPanel

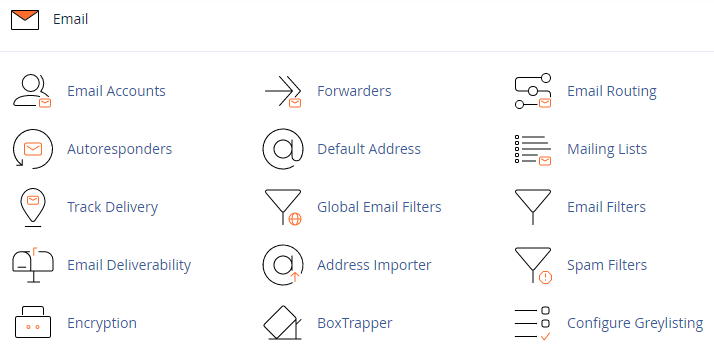
The built-in SpamAssassin function in cPanel can be used to filter spam emails in an efficient manner. We’ll walk you through the installation and configuration procedures in this post.

To activate Apache SpamAssassin, follow the below-mentioned steps:

  1. Log in to cPanel with your credentials.
  2. Navigate to the Email section and select Spam Filters.
  3. Switch on the toggle that is next to the Process New Email and Mark them as Spam when the SpamAssassin screen appears. The spam filter is turned on when the toggle turns blue.
  4. By turning on SpamAssissins, suspicious emails are filtered out and put in a different spam folder in the inbox. If you don’t prefer this, you can turn on auto-delete, which will eliminate any emails that might be spam.
    Keep in mind that some legitimate emails might be mistaken for spam. These will also be erased if you enable auto-delete.

  5. Switch on the toggle that is next to Automatically Delete New Spam to authorize auto-delete. Automatic deletion is activated when the toggle turns blue.
    1. Setting Up Spam FilteringYou can adjust SpamAssassin by altering the spam threshold or inserting addresses to blacklists and whitelists in addition to authorizing and disabling spam filtering.
    2. Modifying the spam threshold
      When email messages arrive, they are examined and ranked out of 10 based on how likely it is that they are spam. Any communication receiving a rank of 5 or higher from Spam Assassin is routed to the spam folder by default. You can change the threshold score if you discover that a few or many emails are being filtered.
    3. How to do it
      Return to the section titled “Process New Emails and Mark Them As Spam,” then select the blue link labeled “Spam Threshold Score.”
    4. Select the desired new threshold score by selecting it from the dropdown when the new page loads. The spam filtering will be more hostile the lesser the number.
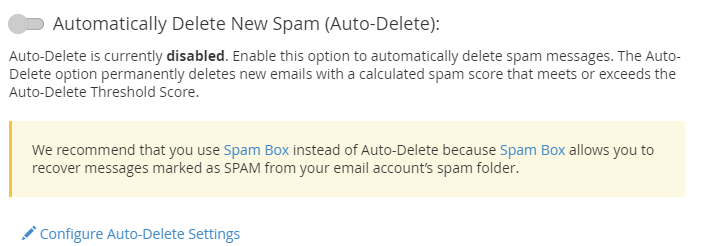
    5. After making your choice, click the Return to Overview button after selecting the blue Update Scoring Options button to finish the procedure and save your modifications.
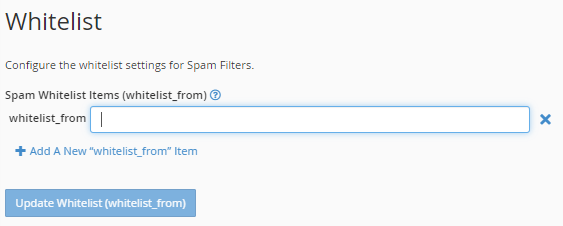
      In order to make sure that the emails you want, don’t get banned and that the ones you want to block, don’t get through, you can place emails on the blacklist and whitelist.

    6. How to do it:

      1. Go to additional configurations.

      2. Select the link for Show Advanced Configurations.

      3. Select the option for Edit Spam Blacklist or Edit Spam Whitelist configurations.

      4. Select the Insert New Whitelist/Blacklist Item link when the page first loads.

      5. In the input field, enter the email address you want to add to a blacklist or whitelist, then select the blue Update button.
      6. You can enter *@nameofdomain.com to receive or reject communications from a particular domain rather than a particular address.

If you’d like, you can come back to these pages and take things from the lists. For more assistance, please visit the bodHOST page. Also, you can go to How To Enabled The Force Apache SpamAssassin

Leave a Reply

Your email address will not be published. Required fields are marked *