We’ll show you how to make a blog post for your WordPress website in this article.
How to Make a WordPress Blog Post
WordPress has the most basic structure for creating and posting blog content on their websites. On the WordPress platform, users may simply create interactive blog entries by writing and uploading photographs.
- Go to your “WordPress account” and log in.
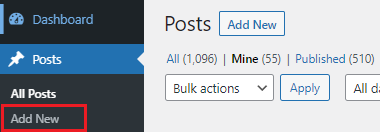
- Over your cursor over Posts and select “Add New” from the menu.

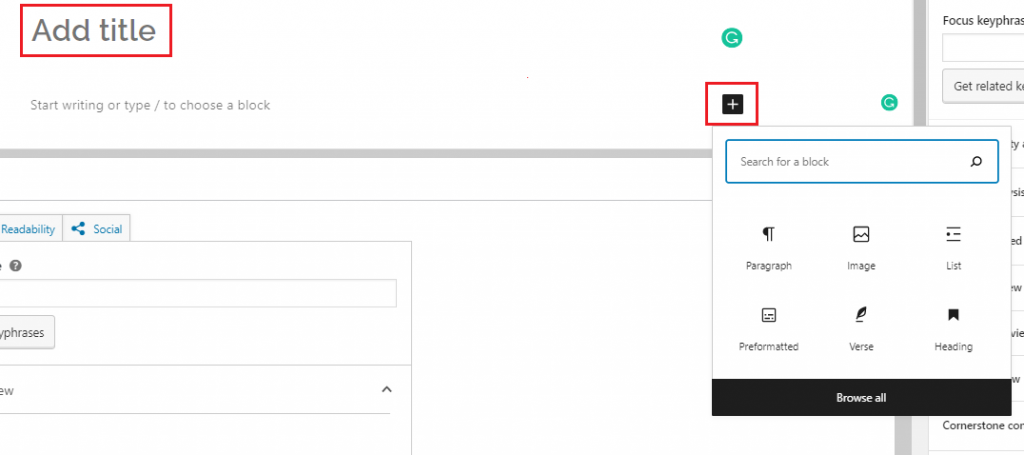
- The window for adding a new post will appear. By writing in the “Editor box”, you may add the title and content for the blog post.
You may access numerous choices to add media files, code, and other textual content tweaking options by clicking on the ‘+’ symbol.
To add an image to your article, “For example”, go to the Media section and click the Image button. Then, for the post, upload the image.
- After you’ve finished writing the text, go to the Categories section and choose a category for your article. It will make it easier for people to browse through your blog. To make a new category, select Add New Category from the drop-down menu.

- By selecting the Tags option, you can add tags to your blog articles. They assist in the archiving of related content so that users can access them by clicking on the tags.
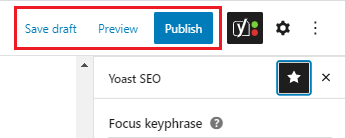
- From the Featured Image option, choose a featured image for the blog article. By clicking the Preview button, you can see a preview of the post. Click Update when you’re finished and ready to publish the post.

Congratulations! Your blogs can now be published on your WordPress websites. If you continue to have problems with the protocol outlined above, please contact the bodHOST Team for constructive assistance 24 hours a day, 7 days a week.
