How To Install SSL in cPanel?

May 14, 2021 / cPanel SSL

How to upload SSL to cPanel

In this article, You will learn what SSL is and how to upload SSL to cPanel.

SSL (Secure Sockets Layer) is an Internet security protocol that uses encryption. Netscape introduced it in 1995 as a way to ensure anonymity, authentication, and data integrity in Internet communications. SSL is the forerunner of today’s TLS encryption standard.

A website that implements SSL/TLS has “HTTPS” in its URL instead of “HTTP.”

Even if you don’t have any special technical skills, installing SSL through cPanel is a fairly simple operation.

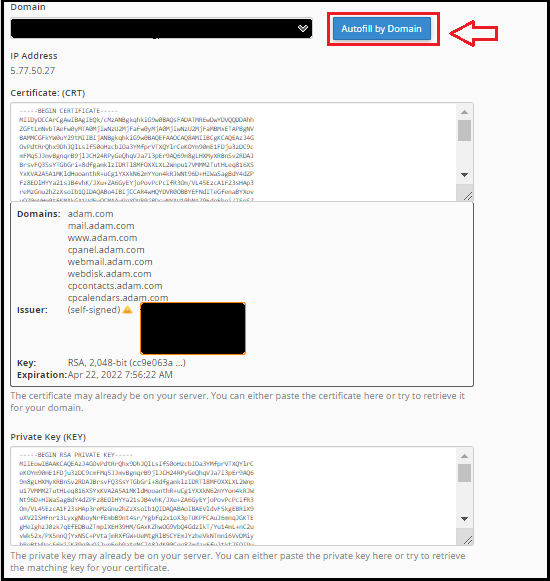
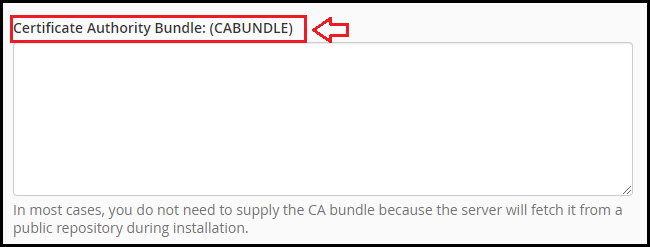
Use the SSL Certificate files you got from a Certificate Authority; the fulfillment email includes a ZIP folder containing certificate (‘example. crt’). And CA Bundle (‘example. ca-bundle’) files, as well as a file with the extension ‘example.p7b’.

Note: That the ‘example.p7b’ file, which contains both the certificate and the CA Bundle, is only sent to Windows servers.

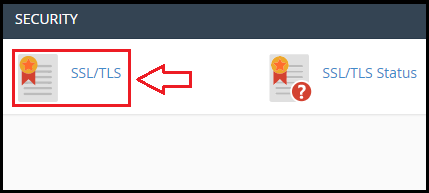
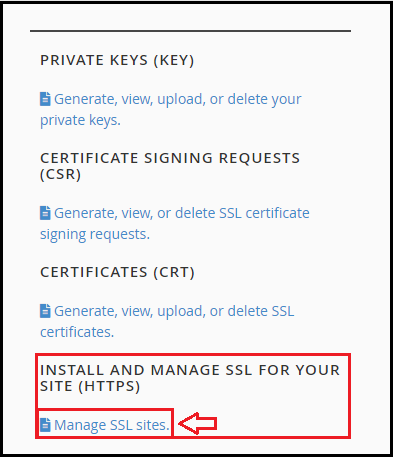
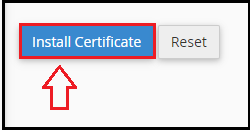
Now you’re all set for the installation steps:

  1. Lon into your cPanel account.
  2. In the Security area, click on the SSL/TLS tab.
  3. Under the “Install and Manage SSL for your site (HTTPS)” Option, Select Manage SSL.

    Note: Some hosting companies don’t have the Manage SSL option in their cPanel. It may be appropriate to contact the hosting company directly to complete the installation process or to locate the exact installation guide for third-party certificates on their website in this situation.
  4. Open the Certificate file using a text editor like Notepad. Copy the certificate code, like ——-BEGIN CERTIFICATE——- and ——-END CERTIFICATE——-, from the Certificate Authority and paste it into the Certificate: (CRT) field on the next tab. A text editor (e.g., Notepad for Windows or Text edit for macOS) can be used to open the certificate files on your device.
  5. When you click the Autofill by Certificate button next to the certificate you entered, the device will try to retrieve the domain name and private key. You may also manually insert the certificate and private key into the corresponding boxes after selecting the domain from the drop-down list. If the device fails to retrieve the private key, it can be found in the SSL/TLS Manager’s Private Keys (KEY) section. For the certificate and the key, remember to include Begin/End headers and footers. If the private key is missing, create a new CSR code along with the private key and reissue your SSL certificate.
  6. If it isn’t already filled in, copy and paste the chain of intermediate certificates (CA Bundle) into the box under Certificate Authority Bundle (CA BUNDLE). Check the Enable SNI for Mail Services box if you want to use this certificate for Mail Services (Exim and Dovecot).

    In this case, you able to configure your mail clients to use encrypted ports by using the domain on which the SSL certificate was installed as the mail server’s hostname.
  7. Click on the Install Certificate button.

    Now your task has been completed successfully!

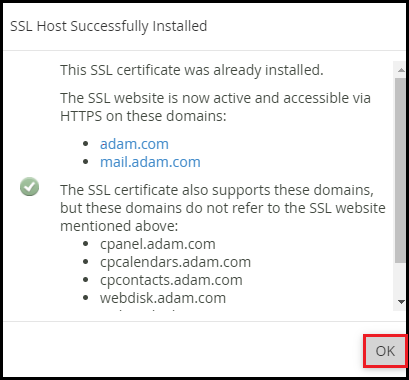
We hope that you now have a good understanding of How to upload SSL to CPanel? If you continue to have problems with the protocol outlined above, please contact the bodHOST Team for constructive assistance

Leave a Reply

Your email address will not be published. Required fields are marked *