How to Install Kali Linux’s OWASP ZAP
This guide explains how to install Kali Linux’s OWASP ZAP. An open-source security tool called…

 Vincer
Encountering a “403 Forbidden” or “No Permission to Access” error can be frustrating, especially when you’re trying to access important content or manage your website. This error means the server understands your request but is blocking access due to permission or configuration issues. It’s a common problem for both visitors and site owners, and fixing it promptly is crucial for maintaining a smooth user experience and protecting your site’s SEO performance. In this guide, we’ll explain the most frequent causes of this error and share practical steps to resolve it.
Let’s explore each of the steps for HTTP error 403 in more detail.
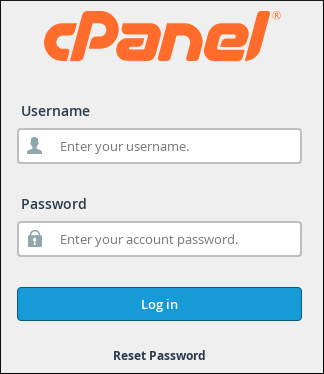
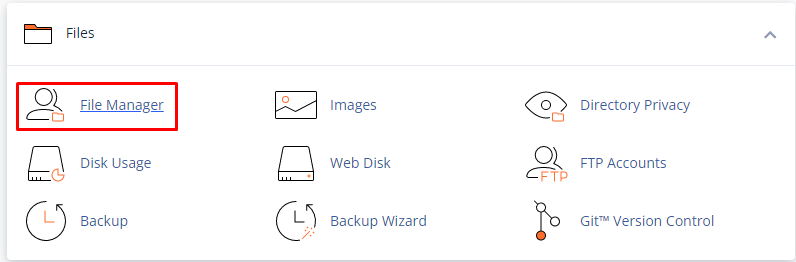

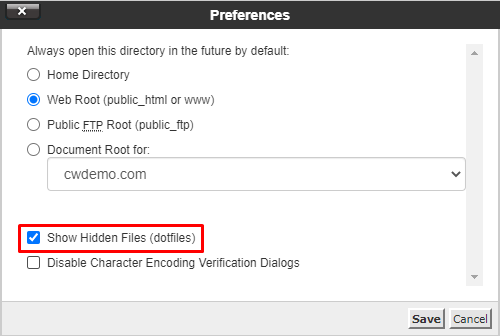
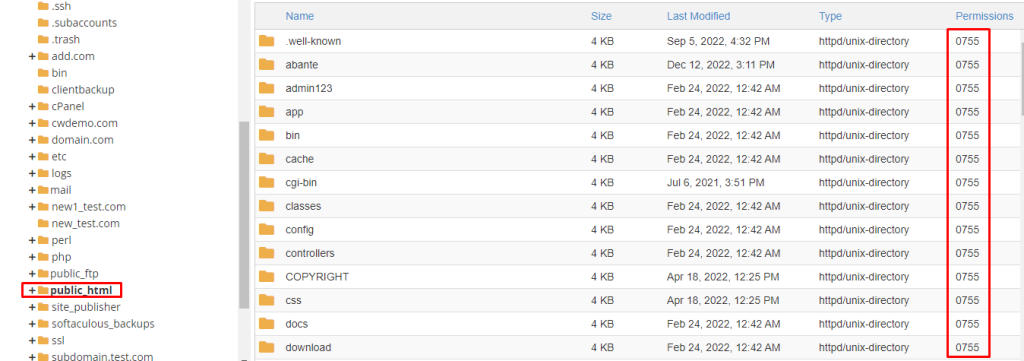

In this way, you can fix it 403 Forbidden or No Permission to Access.
Discover how to resolve the WordPress 403 Forbidden Error with our detailed Knowledge Base guide.

Explore more hosting insights, tips and industry updates.
This guide explains how to install Kali Linux’s OWASP ZAP. An open-source security tool called…
This article explains how to use the DIG (Domain Information Groper) command, an essential tool…
This article covers scenarios that lead to AutoSSL returning a 404 (not found) error when…