SysCP – Open Source Control Panel
What is SysCP? SysCP is a web-based control panel designed to help administrators manage hosting…

 Vincer
This article outlines the process of utilizing the DNS Zone Editor within cPanel to set up a domain for compatibility with Google Workspace.
Google Workspace is a service that empowers users to operate various web applications using their personalized domain names. This suite encompasses web applications designed to manage emails, documents, calendars, contacts, and a multitude of other functionalities within a unified web-based ecosystem.
To utilize Google Workspace with your domain, you’ll need to establish an account and subsequently configure specific DNS settings within cPanel.
Registering for a Google Workspace account:
Configure DNS settings for the domain-
Adhere to these steps to set up DNS settings, enabling the domain to utilize Google Workspace:
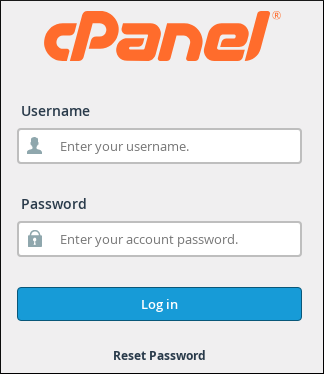
Log into your “cPanel account”.
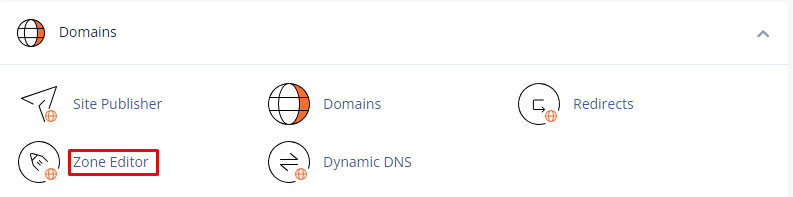
Find for “Domains” section, and click on the “Zone Editor”.
Locate your domain and select “Manage.”
Within the Type column, identify the current “MX records,“ and proceed to eliminate them by selecting “Delete.”
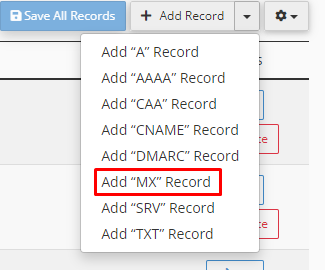
Under the “Add Record” menu, opt for “Add MX Record.”
Ensure that the TTL text box is configured to 14400 and that the Type list box is set to MX.
In the Priority text box, enter “1”.
In the “Destination” text box, input “one” of the following:
If you signed up for Google Workspace before April 2023, type aspmx.l.google.com.
If you signed up for Google Workspace after April 2023, type smtp.google.com.
Click on “Save Record”.
If you signed up for Google Workspace after April 2023, go to step 12. Otherwise, if you signed up for Google Workspace before April 2023, repeat steps 5 to 10, using the following priority and destination values:
| Priority | Destination |
|---|---|
| 5 | alt1.aspmx.l.google.com |
| 5 | alt2.aspmx.l.google.com |
| 10 | alt3.aspmx.l.google.com |
| 10 | alt4.aspmx.l.google.com |
Within the Type column, identify any existing “TXT records” that begin with v=spf, and proceed to remove them by clicking the “Delete” option.
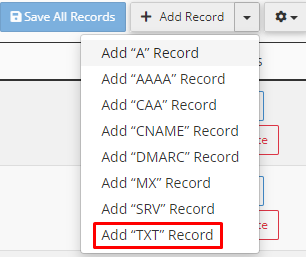
At the upper right corner of the Zone Records table, adjacent to the “Add Record” option, click on the small triangle icon, and then select “Add TXT Record.”
Within the “Valid zone name” text box, input your “Domain name.”
Ensure that the “TTL text box” is configured to “14400” and that the Type list box is set to “TXT.”
In the “Text” text box, enter v=spf1 include:_spf.google.com ~all.
Click on “Save”.
Navigate to the “Email” section, and then select “Email Routing.”
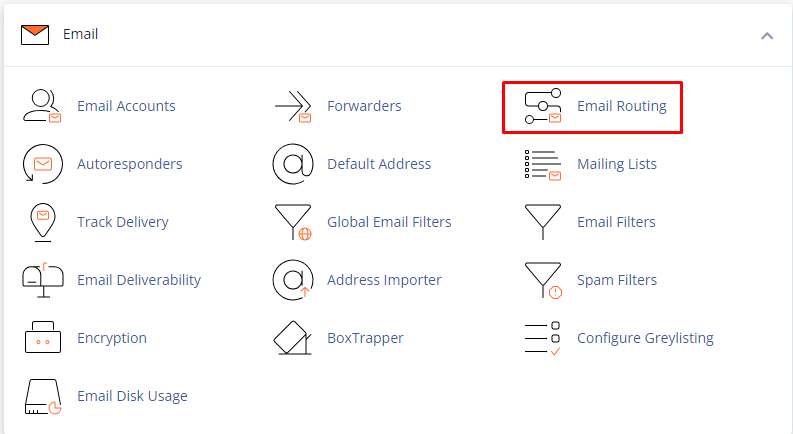
In the “Domain list box”, select the domain you want to configure.
Under Configure Email Routing, click “Remote Mail Exchanger”.
Click on the “Change” button.
Note: cPanel will update your email routing settings. After the new DNS records have fully propagated for your domain (usually within 24 hours), you will be prepared to utilize Google Workspace.
Remove a domain from Google Workspace
To eliminate a domain from Google Workspace, you must erase the DNS records generated in the prior steps, and subsequently reinstate the subsequent DNS records:
Furthermore, it is necessary to revert Email Routing in cPanel to Local Mail Exchanger.
This method allows you to set up a domain for Google Workspace using cPanel. For more information, visit our bodHOST knowledge base section.

Explore more hosting insights, tips and industry updates.
What is SysCP? SysCP is a web-based control panel designed to help administrators manage hosting…
Every device on a network needs an IP address to communicate with other devices and…
In this article, you’ll learn how to modify your WordPress profile, To make changes to…
