What is SSH (Secure Shell)?
What is SSH? It is a protocol suite tool that connects various networks and encrypts…

 Paul Lopez
In this guide, we will provide instructions for changing file extensions in Windows.
Follow these steps to change file extensions in Windows 10.
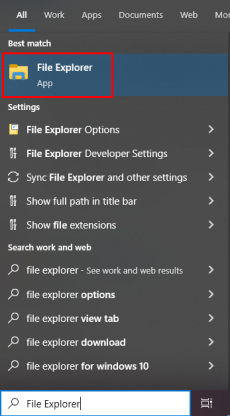

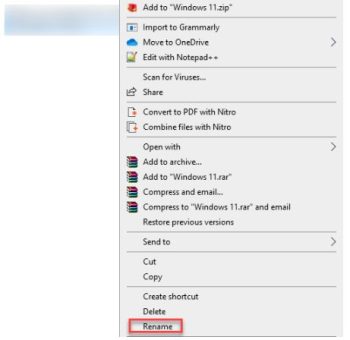
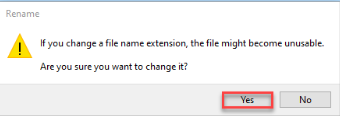
In this way, you can change the Windows 10 File Extensions. For more information, visit our bodHOST knowledge base section.

Explore more hosting insights, tips and industry updates.
What is SSH? It is a protocol suite tool that connects various networks and encrypts…
ECC memory for servers is a type of RAM that detects and corrects data errors automatically…
Restoring a cPanel account is useful when you need to recover a website, email accounts,…