How to Transfer a File Using the cPanel File Manager

This article teaches you how to transfer a file using the cPanel File Manager.

Let us follow the steps:
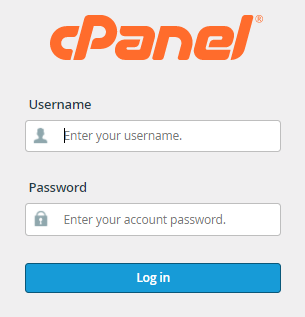
  1. To access the File Manager, log into your cPanel account.
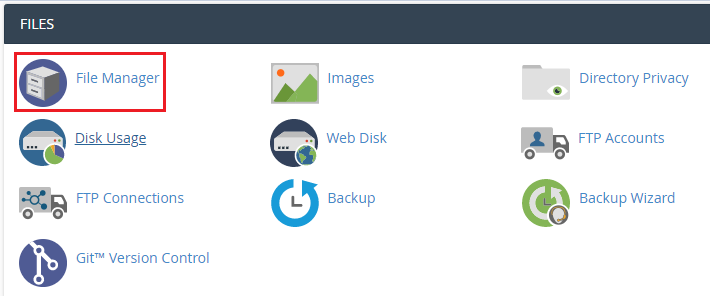
  2. Go to the Files section and click the icon to open the “File Manager”.
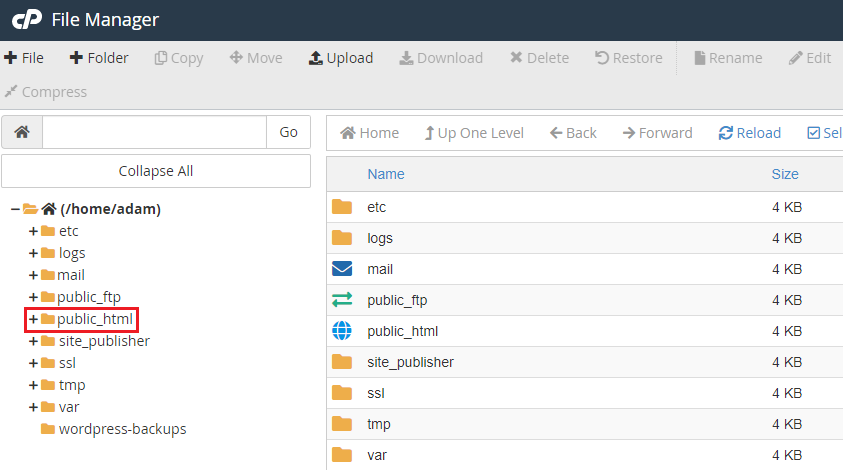
  3. After logging in to the File Manager, you’ll be sent to your account’s root directory. In most situations, you’ll interact with website files in the “public_html” directory.

    There are two ways to move a file.
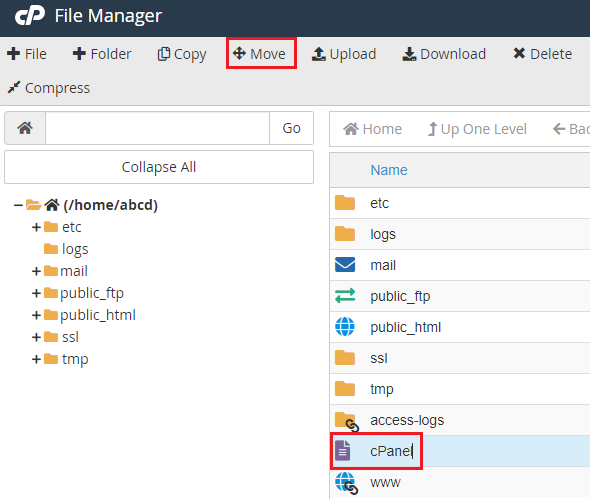
    1. The first and most basic technique is to drag and drop the file. Simply click the file name on the right and drag it to the new directory on the left.
    2. Use the “Move” button as an alternative. You must, however, know the path to the location where you want to save the file to utilize this method. After picking the file to moved, press the “Move” button.
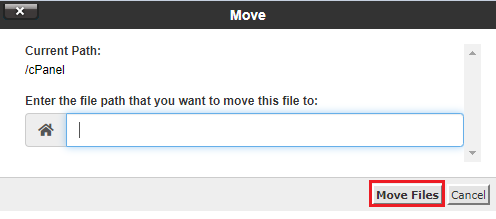
    3. Then, on the “Move Files” button, enter the path to the new location for the file.

Our talk has come to a close. You’ve just learned how to transfer a file using the cPanel File Manager. For immediate help, contact our Support team at any time, and take a look at our Web hosting plan choices.

Read Also: How to Use the cPanel Site Publisher to Create a Website

Popular Posts You May Read

Explore more hosting insights, tips and industry updates.

Fixing Webalizer Errors: Unable to Lock DNS Cache File

Introduction:If you encounter the Webalizer errors:Error: Unable to lock DNS cache file /usr/local/psa/var/webalizer.cachedon’t worry this…

How to Allow Customers Compiler Access Using WHM

Here, in this article, we will learn how to allow the customers Compiler Access using…

How To Fix 403 Forbidden or No Permission to Access

Encountering a “403 Forbidden” or “No Permission to Access” error can be frustrating, especially when…