
Reset Mailman Password on cPanel – WHM Dedicated Servers
If you’re managing mailing lists on your dedicated server, you may need to reset the…

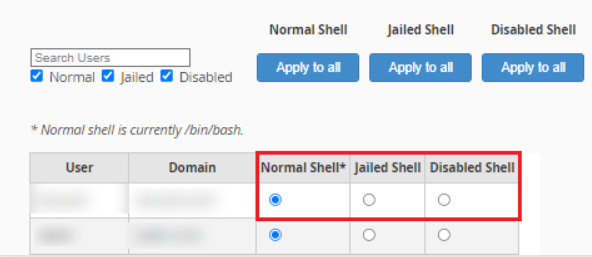
In this article, we are going to cover How to Manage Shell Access via WHM.
You can access the remote server’s command-line interface by enabling Shell access, also referred to as SSH. You can give a limitless number of users shell access.
If you are aware that there are three different types of Shell access.
You can enable or disable shell access using Manage Shell Access.
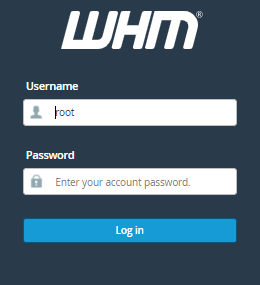
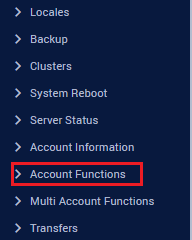
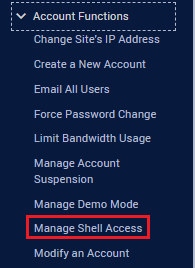
We hope that you now have a good understanding of How to Manage Shell Access in WHM. If you still have problems with the protocol outlined above, please get in touch with the bodHOST Team.

Explore more hosting insights, tips and industry updates.
If you’re managing mailing lists on your dedicated server, you may need to reset the…
This article illustrates how to install Clang on Ubuntu 20.04 and 22.04. Clang serves as…
RAM in a dedicated web server is as important as your local machine or server.…