In this way, you can create a table in cPanel in phpMyAdmin. Don’t hesitate to reach out to the bodHOST support team anytime you require assistance. Read on for More How Do you Change Table Columns in phpMyAdmin Using cPanel.

-
Paul Lopez
- 09 Nov, 2023
In this article, we will explain how to create a table in cPanel in phpMyAdmin.
Follow these steps to create a table in cPanel in phpMyAdmin.
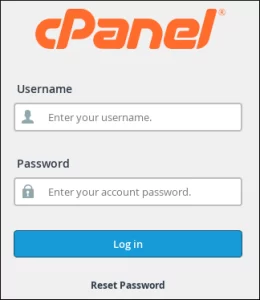
- Log into your cPanel Account.
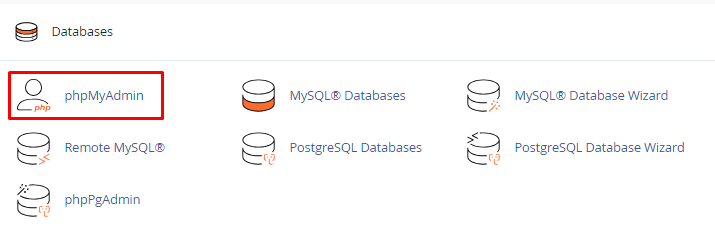
- Click on “phpMyAdmin“, from the “Database” tool.
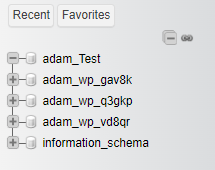
- Choose the preferred database from phpMyAdmin’s left-hand menu.
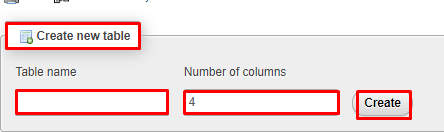
- Scroll down to the “create table” section, input the MySQL table’s “Name” in the designated field, and specify the “Number of columns” in the adjacent box.
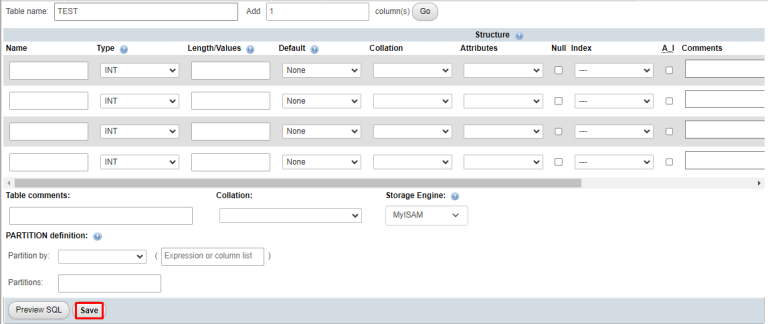
- Next, a table will appear on the screen. Fill in the relevant data within the designated boxes and click on “Save”.

Popular Posts You May Read
Explore more hosting insights, tips and industry updates.
Setting up DNS records for your domain in Cloudflare
Setting up DNS records for your domain in Cloudflare is one of the most important…
What is an A Record?
An A or Address record is used for pointing a domain or subdomain to an…
FAQ-SSH and RDP access on Shared and Reseller Hosting
Q: Do you allow SSH and RDP access on Shared and Reseller Hosting? A: For…