How to Install Your Windows Update
In this article, we will teach you how to keep Windows up to date using…

This guide will teach you how to adjust table columns in phpMyAdmin. Users can edit, modify, and execute a wide range of activities on MySQL and MariaDB databases using the database administration application “phpMyAdmin.”
We’ll do so with cPanel in this case:
1. Log in to cPanel.
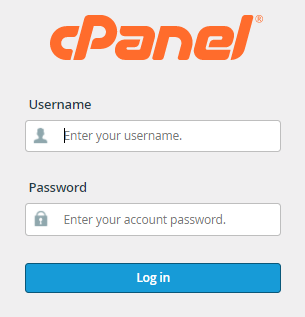
2. Under the “Databases” section, click on “phpMyAdmin”.

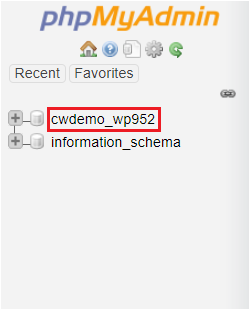
3. A new screen will open of phpMyAdmin. You can select any Database from the left-hand side menu.
4. You will see a list of databases. Tick on the plus sign “+” before the name of the database whose column you wish to change.
5. Again click on the plus sign.
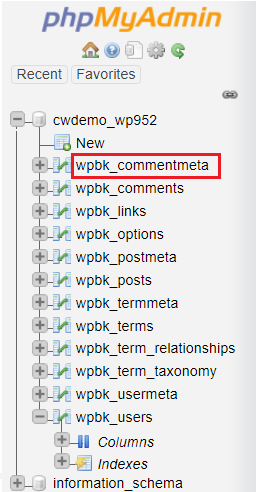
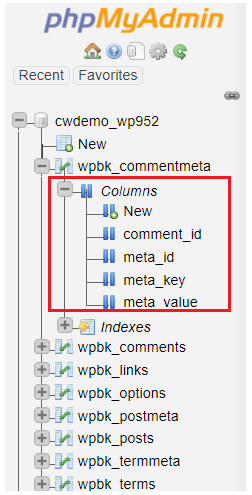
6. You will see two names in the list. “Columns” and “Indexes”.
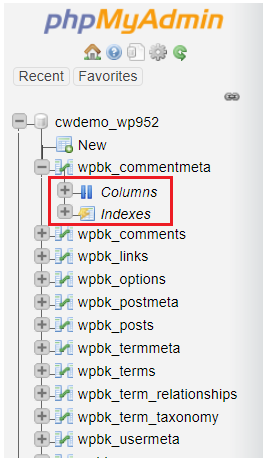
7. Click on the plus sign before the columns to see the list of columns.
8. Select the column and click on it. You will see a new screen where you can edit the name, type, length, default value, collation, and Attributes.
9. After you’ve finished making all of your changes, click Save.

10. You can also preview SQL as shown below.

This way you can change the table columns in phpMyAdmin. Wasn’t it very easy? If yes then you will surely love our support. bodHOST expert team is available for you anytime. 24 hours a day, 7 days a week. Also Explore More about How to Create Table in cPanel in phpMyAdmin.
Explore more hosting insights, tips and industry updates.
In this article, we will teach you how to keep Windows up to date using…
This tutorial is designed to help you change the template in Joomla 1.5, you will…
Choosing the right domain extension is an important part of building an online presence. While…