What is Nucleus?
Through Nucleus, developers can create and develop highly complex and versatile applications for large organizations…

In this article, we’ll show you how to Create User Accounts on a cPanel Server.
On your cPanel server, you can establish additional user accounts for email, FTP, and/or Web disc. The procedure is straightforward because we’ll be using the cPanel’s User Manager feature.
Follow the Steps to Make cPanel User Accounts


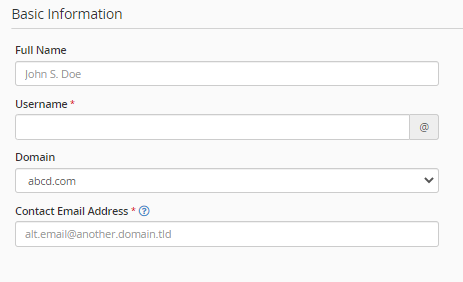
The following items can be found in the Basic Information section:
A.Full Name: It will include the user’s first and last names.B.Assign a username to the new account of the user.
C.Select a domain from the drop down list to configure the user’s email, FTP, and Web disc services.
D.Email Address for Contact: To contact the user, enter their email address.
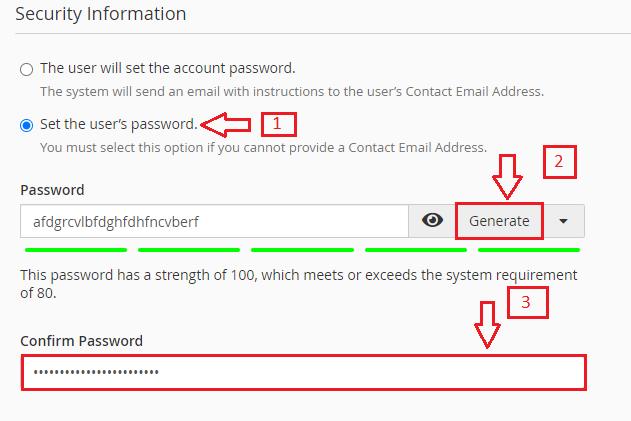
There are two ways to go about it:
A.The user’s account password will be set: This option allows you to instruct the system to send an email to the user’s Contact Email Address. It allows users to set their passwords privately and at their leisure. It comes in handy while adding several user accounts. This option eliminates the need to assign passwords to each user.
B.Set the user’s password: You will be allowed to set your password. If you don’t have the user’s contact email, you can use this option to set passwords.
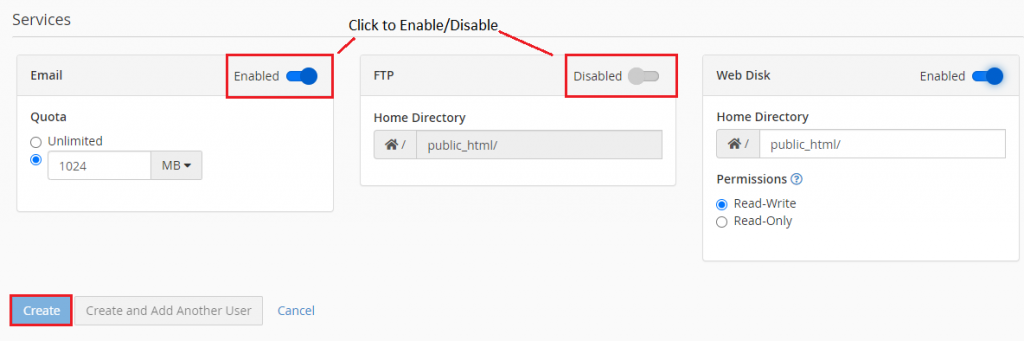
The system will establish a user account for you and add it to the User Manager’s list.
Without signing out of cPanel, you may also click the Create and Add Another User option to create this user account and instantly proceed to add a new one.
Conclusion
We sincerely hope you must now have a clear idea of how you Make User Accounts on your cPanel Server. However, if you are still facing any difficulty in the procedure mentioned above, feel free to reach out to the BodHost Team for proactive support 24×7.
Explore more hosting insights, tips and industry updates.
Through Nucleus, developers can create and develop highly complex and versatile applications for large organizations…
If you are currently using a VPS for your website and related services, then the…
We’ll describe how to reverse the adjustments Patchman made in this article. Patchman is a…