The Internet is the Internet and many things can happen so it’s good to have an off-site backup solution like R1Soft for data protection. bodHOST’s R1Soft system will enable you to restore files and folders to your account in barely a few clicks. The R1Soft console panel offered by us can help you to restore files, folders, or even entire disks from Disk safe panel. Even, I would say R1Soft’s backup solution is the bee’s knees. Why I am saying this? Check the below steps and decide whether my claim is right or wrong!
- You need to use the URL provided by us to access your R1Soft CDP console.
- Once you successfully logged in, you will be redirected to the Dashboard Area.
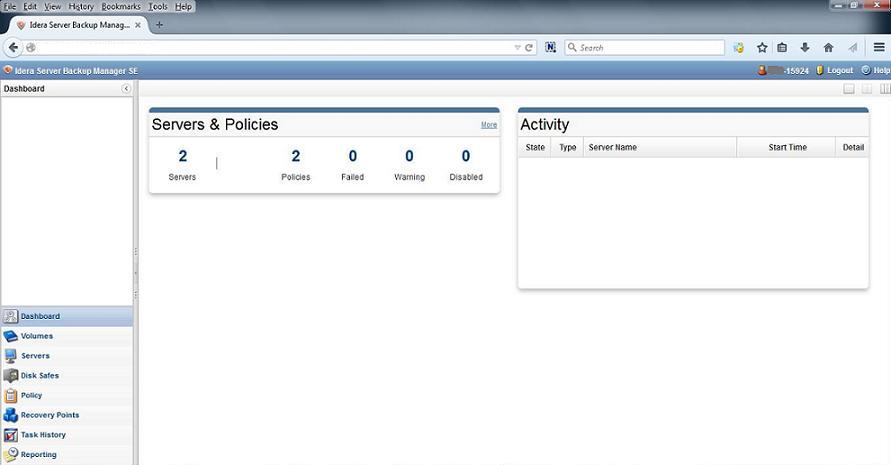
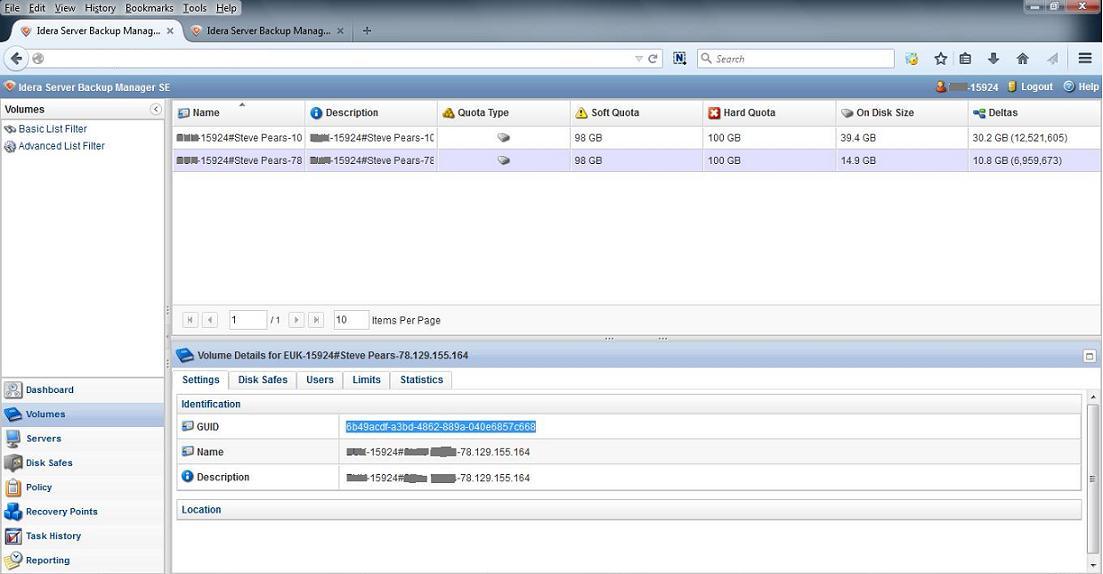
- Now check for the option titled ‘Volumes’ at the bottom-left of the screen. Volume is simply storage of your Disk Safe/s with a common Quota assigned to you. It can also keep replication of several agents.

- Under “Volumes” you will see the option “Servers” which contains Server Name, Host Name/IP, and Port Number.

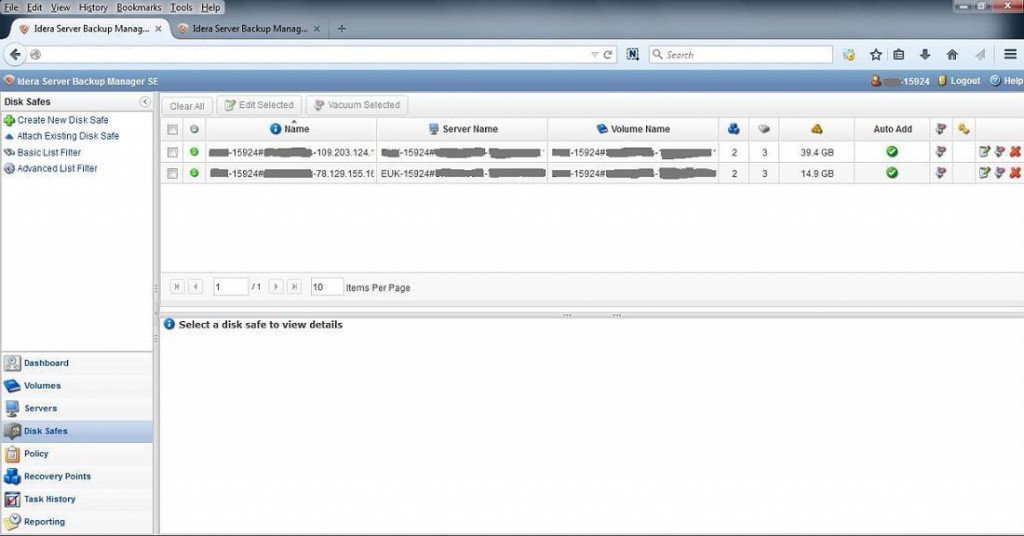
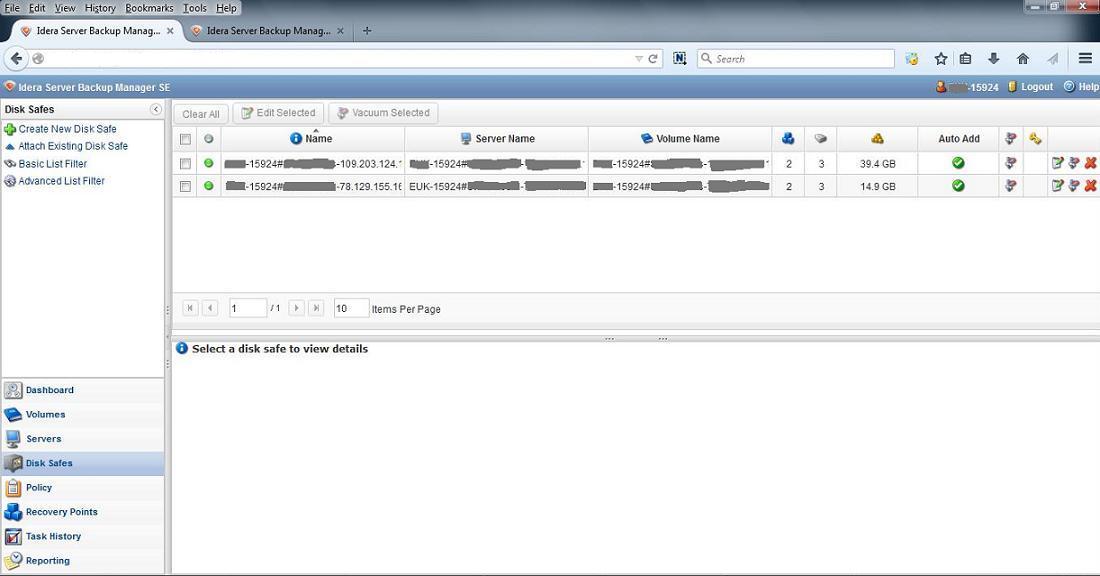
- Now look for the option titled ‘Disk Safes’. You will see a list of all your Disk Safes.
- The most important thing is “Policy” settings – to schedule replication of Disk Sage. You must have a Policy assigned to that Disk Safe. It starts at the time you have stated in the Policy properties. The Policy properties include information such as the number of Recovery Points that you may wish to keep in the Disk Safe.
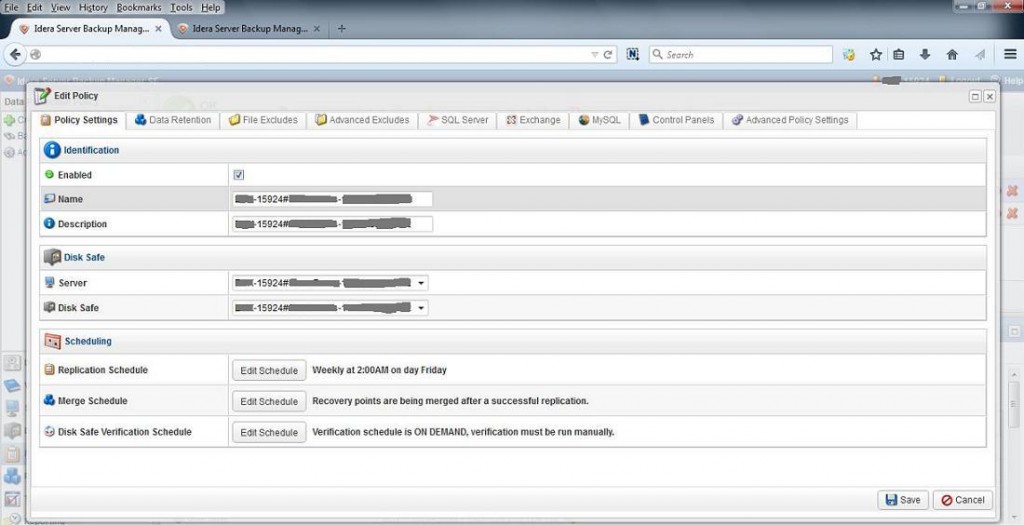
- In Policy settings > next option you will see “Data Retention”. Where you can set a number of recovery points to retain. Note: make sure to set recovery points 2 or more. Don’t set a “1” recovery point.
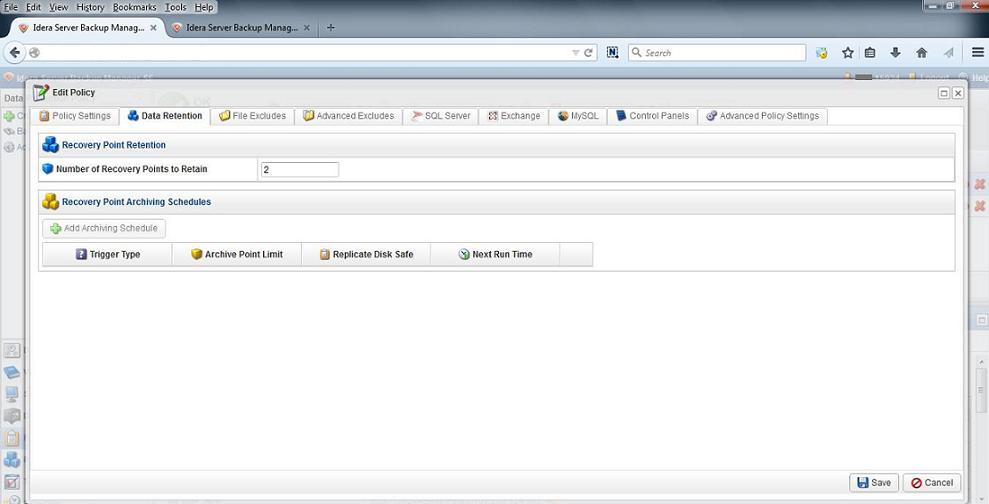
- Next to Data Retention you will see the option “File Excludes”, which you can use to avoid files and folders that you don’t want to backup.

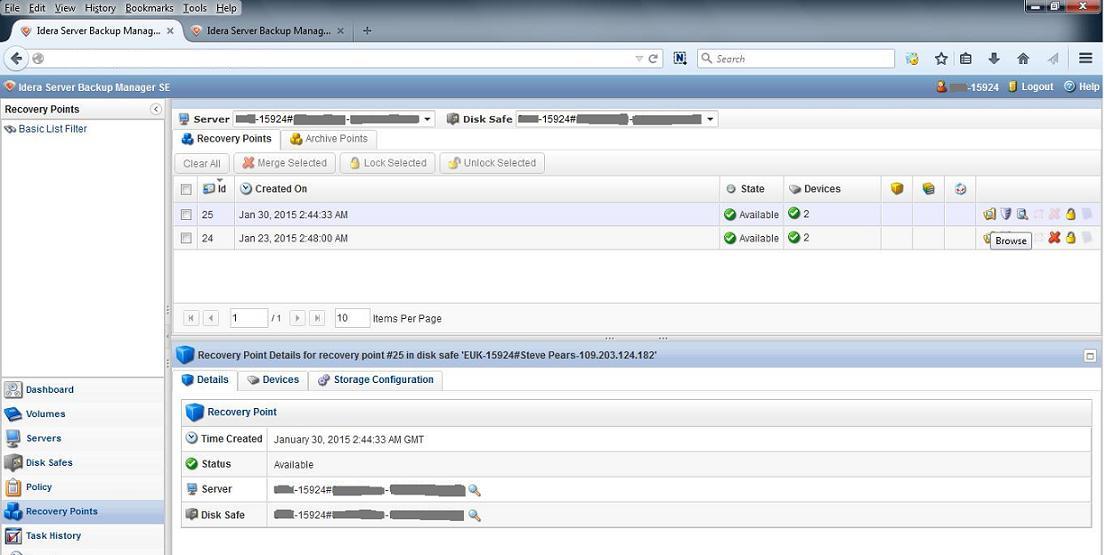
- In order to start with the restore process you need to look for the option titled as ‘Recovery Points’. You will find the option on the left sidebar.
- While looking at the date creation. You will see there are two restore options i.e. ‘Bare Metal Restore’ and ‘Browse’
Note: Bare Metal Restore would restore all the files on your server, but if you wish to restore only selected files and folders, then you must click on the ‘Browse’ option.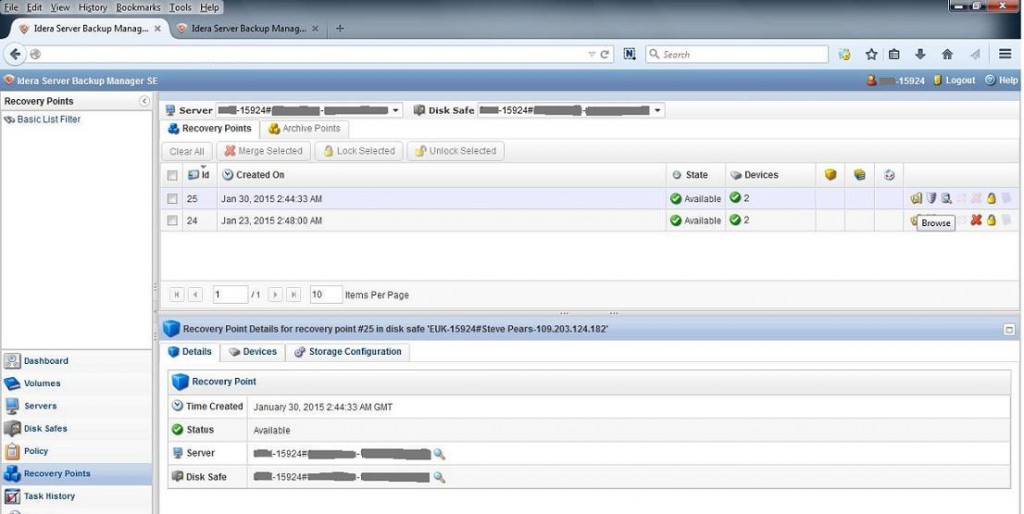
- After clicking the Browse button, you will see the files and folders with their individual details such as Name, Attributes, Size, and the Modify Time.
- You just need to check the boxes against the files and folders that you wish to restore and click the button ‘Restore Selected’ located at the top of the same screen. Alternatively, you can also download specific files and folders on your local machine in a similar way. You just need to click the ‘Download Selected’ button situated at the top of the screen.

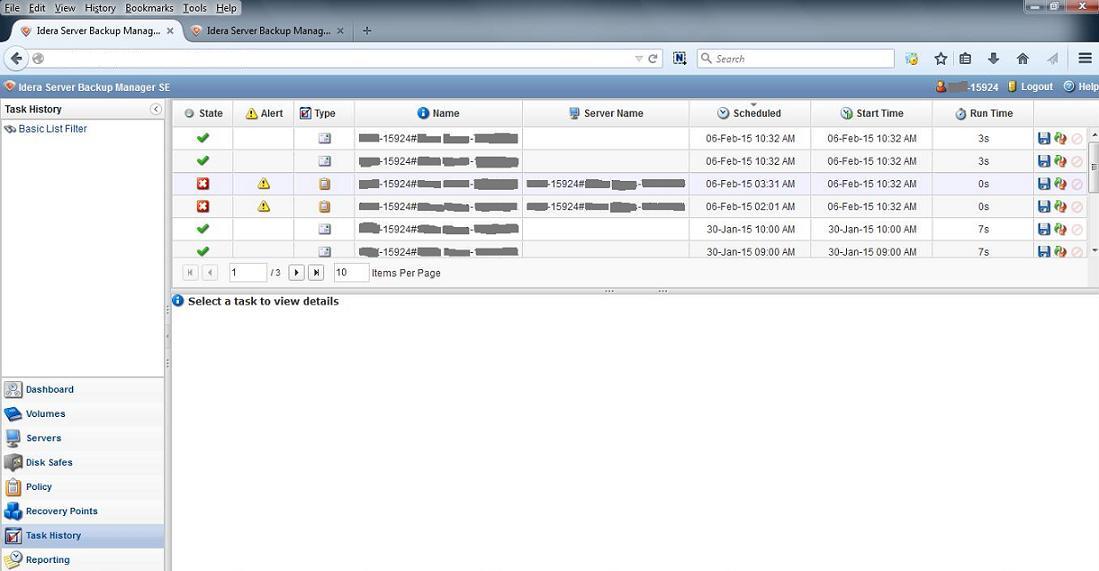
- Task History: To view currently running or finished tasks and their details you can use this option. Through this option, you can also cancel the running tasks. This option also includes view alerts, view log messages, downloading tasks details and returning most tasks features.

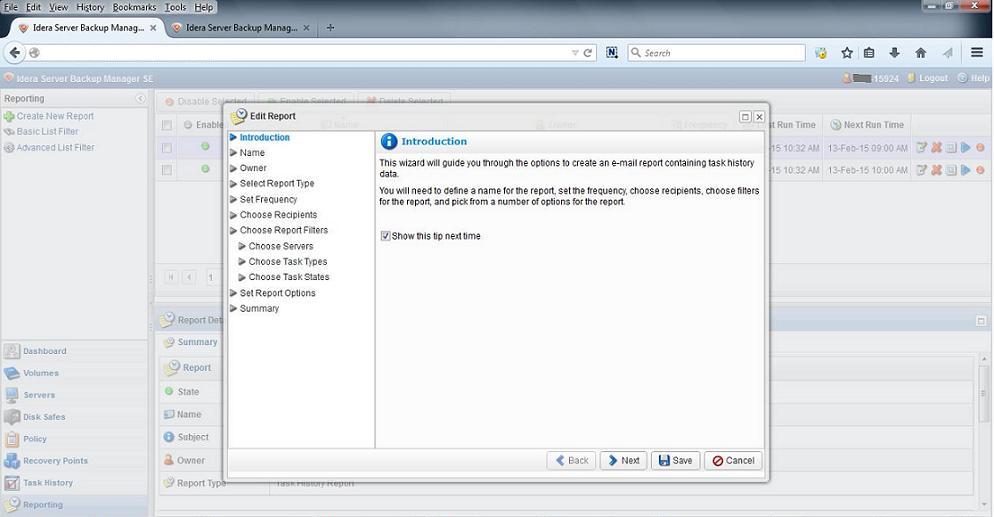
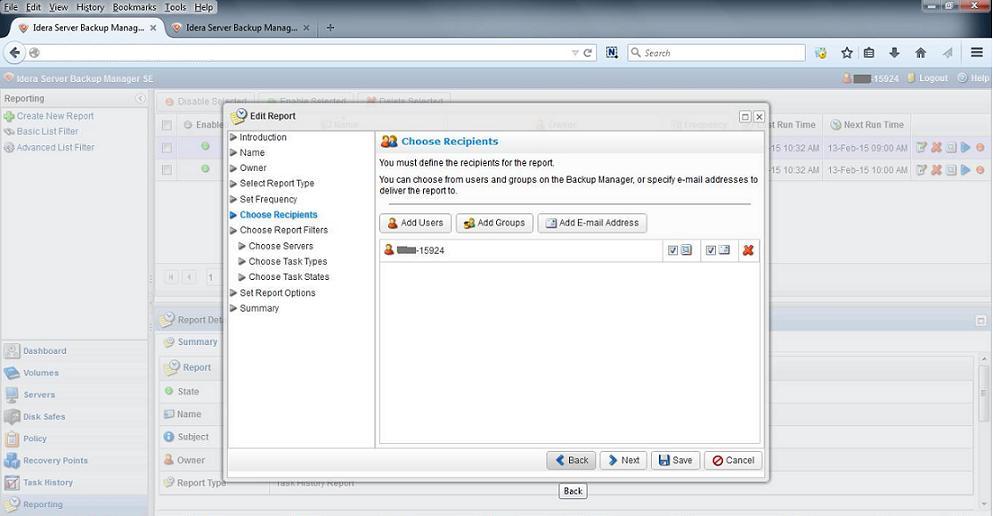
- Reporting: R1Soft also offers a flexible reporting system. With this option, you can receive information about Task fulfillment via email.
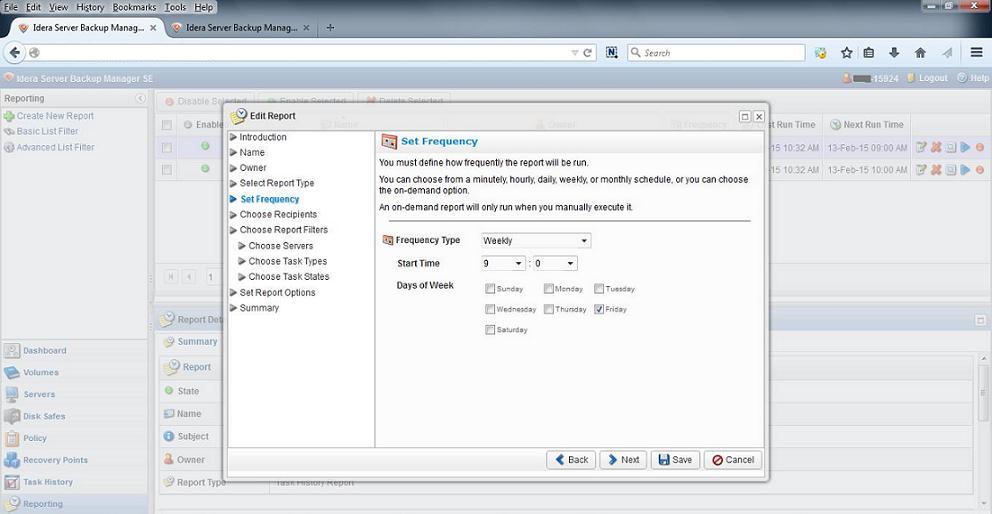
- Reporting Frequency: Though it’s possible to set reporting frequency minutely, it’s advisable to set the frequency at least 4 hours or more.
- Choose Recipients: To receive task completion and other information add your email address here:


For more information, you can contact us via Live Chat or send us an email at sales[@]bodHOST[dot]com to get a quote for your requirements.
In case you need assistance with restoring backups, contact bodHOST tech support team via Live Chat or raise a ticket with the Help Desk.