
How to Install Minecraft Mods for PC, Mac, and Consoles
Minecraft mods have new features, creatures, blocks, and mechanics that can enhance your gaming experience,…


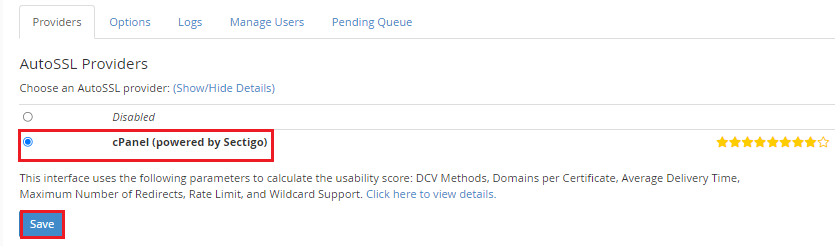
In this post, we’ll go over what AutoSSL is and how to enable it. Every customer’s web host account has an AutoSSL option which can be turned on and turned off. When WordPress is installed, AutoSSL is toggled to ‘on’ in the Hosting SSL Certificates page for existing accounts, or Free SSL Certificate is toggled to ‘on’ in the Security section of the control panel for new accounts.
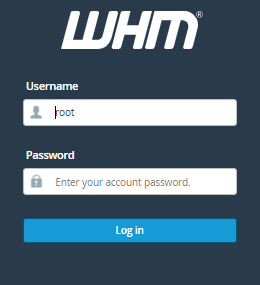
Follow the following Toggle the steps below. AutoSSL.

We hope that you now have a good understanding of How do you enable AutoSSL. If you continue to have problems with the protocol outlined above, If you need assistance with this tutorial, please contact us via live chat.

Explore more hosting insights, tips and industry updates.
Minecraft mods have new features, creatures, blocks, and mechanics that can enhance your gaming experience,…
In this article, we’ll go over the criteria your apache doesn’t listen to on your…
After installing an SSL certificate, you may sometimes find that you cannot browse your website.…