How to Scale Your Business Faster with Managed WordPress Hosting
As businesses grow, their websites often receive more visitors, process more data, and support more…


There can be a lot of reasons that can be owed to the fact of migrating your website from one hosting provider to another. There might be a high possibility that your present web hosting provider might not be offering all the set of desired features that you’re looking for. Migrating your website can prove to be a stressful job if you’re looking for minimal downtime.
The biggest delay comes in when you’re looking to get the registration of DNS done on a new provider. In this article, we’ll be guiding you with your migration process. Besides providing guidance, we’ll also be assisting with a step-wise guide for moving your website from one server to another.
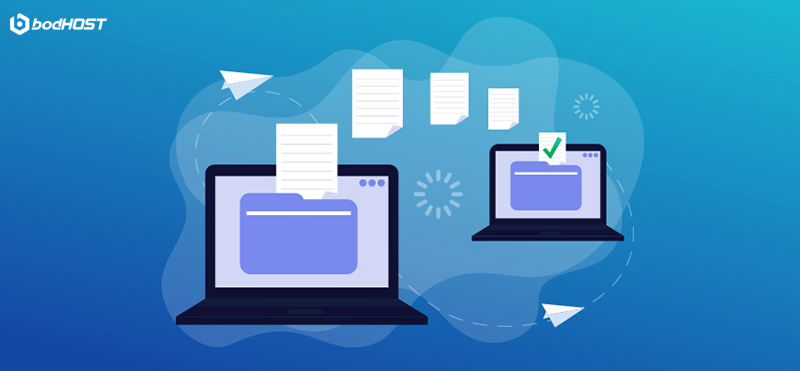
Besides moving the website files, you need to restore crucial databases along with other software and if you don’t have a trusted provider, then it may take a day or longer before your site goes up again. To avoid this loss, there are some pretty tricks for avoiding disasters when you are transferring your website to a new host.
The suggestions that we’re going to discuss in this article may be easy to implement provided your site administrator is well aware of cPanel, IP addresses, and other website hosting-related technologies. For you as a website owner, what matters the most is that your customer remains unaware of the changes that were done in the backend.
So, let’s analyze these steps which will help you to execute the process of migration smoothly-
Never in your migration process cancel your existing plan until the process is completely over. One of the common mistakes that website admins do when transferring their websites is that they inform their previous hosting provider about their migration to a new host.
Your website admins do need to inform your old hosting provider about the changes that are likely to take place in the future. If they inform the hosting provider before the migration process is complete, then it may lead to an absolute loss of files and necessary database information.
Website hosting companies tend to terminate your plan with almost immediate effect without waiting for the current plan to expire. When this is done, the hosting provider starts to virtually shred every piece of information that was uploaded on their website when you were a part of their hosting scheme.
In most cases, you can’t restore these files and then move them to a new web hosting company’s server. This type of downtime is very hard to recover resulting in a potential loss of all your customer data, and content along with monetary losses that you’ll probably incur.
Once you have selected a new hosting plan, make sure that you’ve transferred all your files before canceling the existing one. You may find it a good practice to run your website on their server for a few days. Once everything has been verified at your end, then go for canceling your existing plan with the old hosting provider.

You need to log in to cPanel and then obtain the compressed backups of your website files along with database information. To make it hassle-free and convenient, customers need to ensure that both- old and new hosting providers deploy the same web-based technologies.
Usually, there is a choice that exists between cPanel and PleskPanel website control panel. When you align with the technologies being offered by both hosts, then it directly ensures that your data can be backed up and restored very quickly.
Once you have successfully logged into the cPanel interface, look for a group of settings and control panel pages labeled as “Backup”. This contains tools for backing up the site’s ”’public_html’ folder along with other subdomains.
The tools present here are going to assist you in taking the backup of your MySQL databases for restoring the new servers. In the same section, look for the “Download Backups” option and then click on your relevant cPanel admin page.
On this page, cPanel is going to segregate all the available backups by their type. In case a backup of the entire site is available, you can download the file that will be uploaded over a different host. There are also going to be backup files related to every subdomain within their website.
On the same page, you can secure compressed backups of their databases individually. Each database needs to be downloaded in a compressed format. These databases are going to be uploaded on the new server for creating the same database names later.
During the backup process, never decompress any of the files. The reason being the new server is going to decompress these files once they’re uploaded by the customer. Once all your compressed backup files have been secured, you can log out of the old cPanel installation and move on to the new host’s version of the website admin software.
You can now upload all your compressed backup files on the new server. Apparently, all web hosting companies are going to send an email to their customer having information such as their domain name servers and IP address details for their new web hosting.
This IP address can be used for monitoring the website’s content prior to the DNS propagation and accessing the individual FTP account along with the cPanel admin interface before any changes are done.
Look for the mail sent by your hosting provider and then look for the corresponding IP address. Once you have logged into the cPanel’s iteration, look for the backup tools that we discussed previously (in Step 2) and then navigate to the Backup Downloads page.
On this page, locate the file-upload box that is related to the full-site backup. This is often labeled as a “Backup Restore” feature. Select your full-site backup file that was previously downloaded from your previous web hosting provider.
This will initiate your uploading process. When all your information has been transferred, it’s the right time to adjust your settings and start the seamless transition at the backend.
You need to clearly make a note that your database backup files have no information related to usernames, passwords, and other permissions related to databases. This information has to be entered in the database interface within cPanel.
You should also notice that each prefix has been assigned to every database within the cPanel. If there are variations, then the prefixes need to be modified in the configuration file of each software application connecting to the database.
You have to ensure that all the relevant information related to users, passwords, and their permissions are added. Once this is done, you have to make some necessary changes by logging into the FTP account by the means of the IP address of your website. This assures a smooth working of software once the domain gets transferred to show the files of your new host.
Once this is done, everything is properly set and function-ready. Now the only change remaining that is remaining is the domain name that will be shown to the end user.
You need to inform your domain registrar that you’re going to use new domain servers. This is the final step in the migration process where you need to tell the domain name registrar to show files and data that are now present on a different server.
This method is carried out by logging into the domain registration control panel offered by your domain registrar. In the control panel, you’ll see a sidebar named “Domain Name Servers” with the current information placed in that area. The older one needs to be replaced with the new name servers for your new host. Changes done in the DNS records will be reflected soon.
In this phase, both new and old websites will be working properly and customers are going to see identical content irrespective of the hosting files.
You should not post any content before propagation is complete. This may result in data getting lost. However, downtime won’t be a concern for you, but you should refrain from performing any changes to the site until and unless the migration process is complete and your files can now be accessed on the host server.
Once this is done, the process of transferring your website is officially done and your website users experience the transition to a new server without incurring any downtime.
Just ensure that your website is tested and check whether all your features are working or not. Once you’re assured, then only cancel your existing old hosting plan!
Website migration without incurring any downtime remains a major concern for website owners. However, if they follow the above procedure, then a seamless migration becomes quite easy and on the front end, users don’t get even the slightest hint about the changes done at the back end.
If you’re looking for a trusted web hosting provider that guarantees you 100% uptime and seamless migration for your website, feel free to reach out to the bodHOST Team.
Explore more hosting insights, tips and industry updates.
As businesses grow, their websites often receive more visitors, process more data, and support more…
There are various benefits that a business can experience when it moves to cloud computing.…
In this virtual realm, individuals show a keen interest in virtual games, moving away from…