How to install rkhunter to a cronjob
How to setup a daily scan report? # vi /etc/cron.daily/rkhunter.sh #!/bin/bash (/usr/local/bin/rkhunter -c –cronjob 2>&1…

In this article, we will demonstrate how to use Softaculous to install WordPress in a cPanel account.
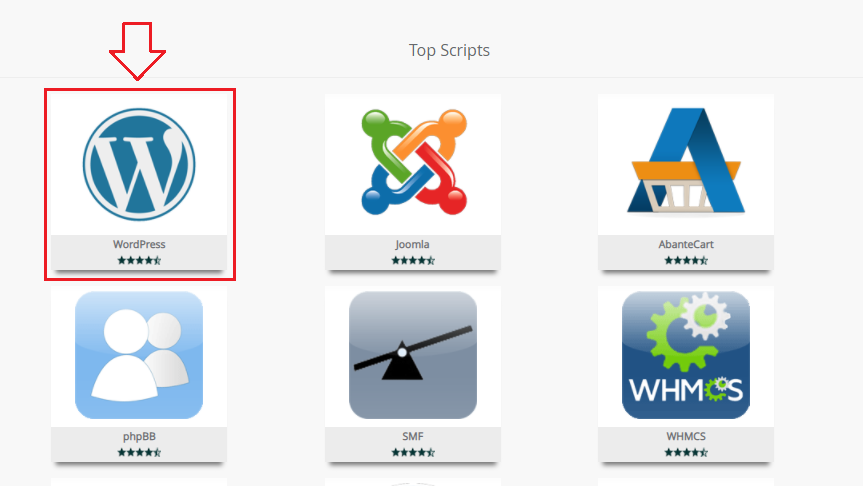
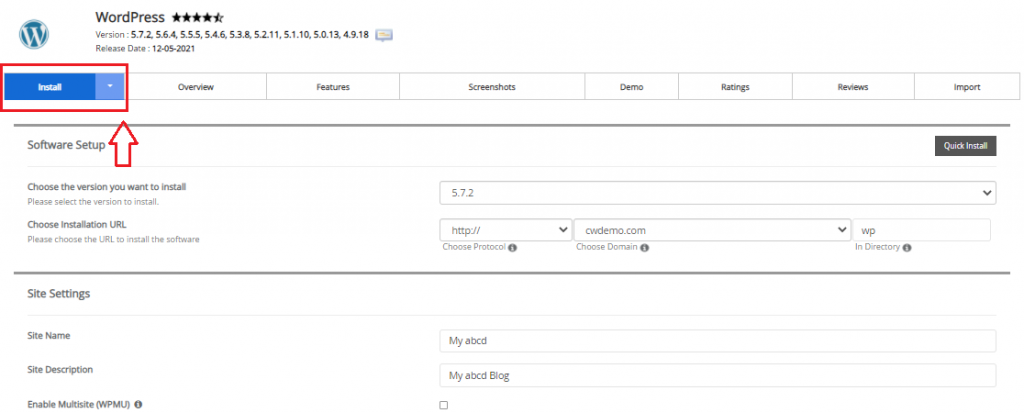
Let’s take a look at the following steps how to install it:

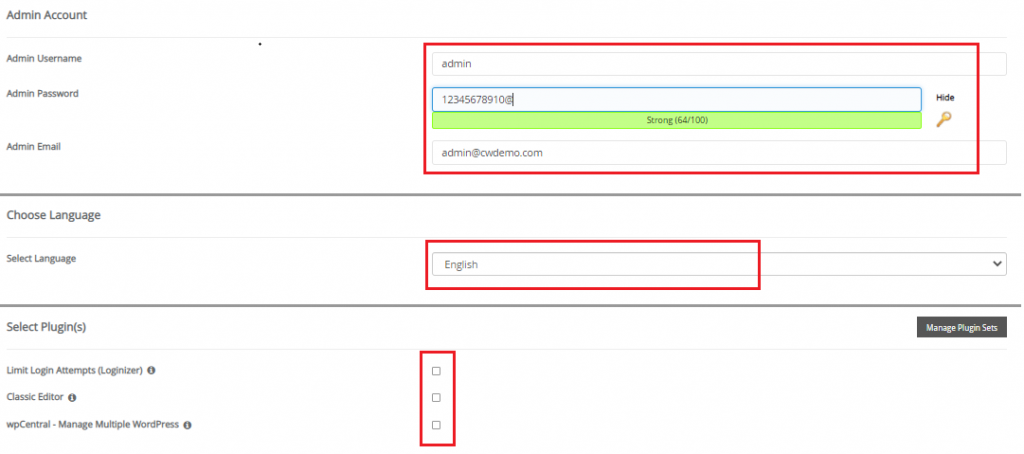
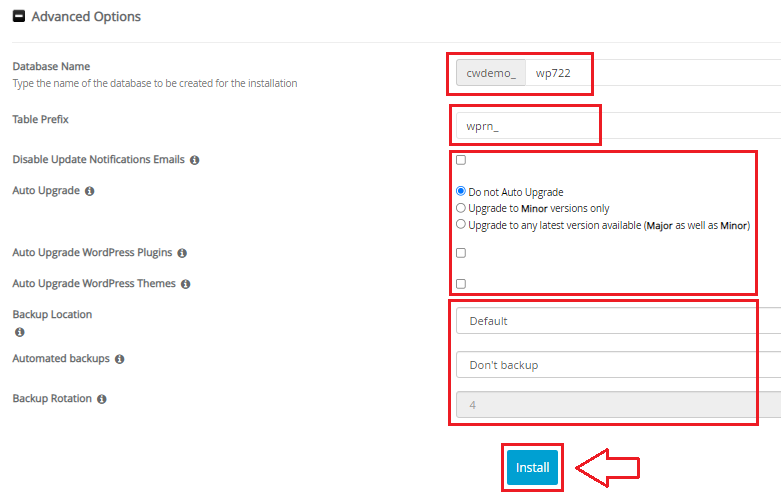

You can use Softaculous to install WordPress in your cPanel account in this manner. As a result, if you have any problems, please contact our bodHOST support team as soon as possible.
Explore more hosting insights, tips and industry updates.
How to setup a daily scan report? # vi /etc/cron.daily/rkhunter.sh #!/bin/bash (/usr/local/bin/rkhunter -c –cronjob 2>&1…
Several network interface modules can be found on some servers. While communicating with IP functions…
Encountering the ‘MySQL command not found’ error usually indicates that MySQL software is not installed…