

How to Switch to the Master Branch in Git
When working with Git, branches allow developers to work on different features or fixes without…

In this article, you will find the installation process of an Apache module in WHM.
Introduction
You may follow the steps below to install an Apache module using WHM.
Procedure:
To install an Apache module in WHM, you may follow these steps:

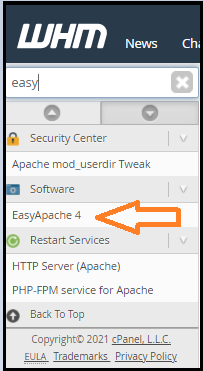
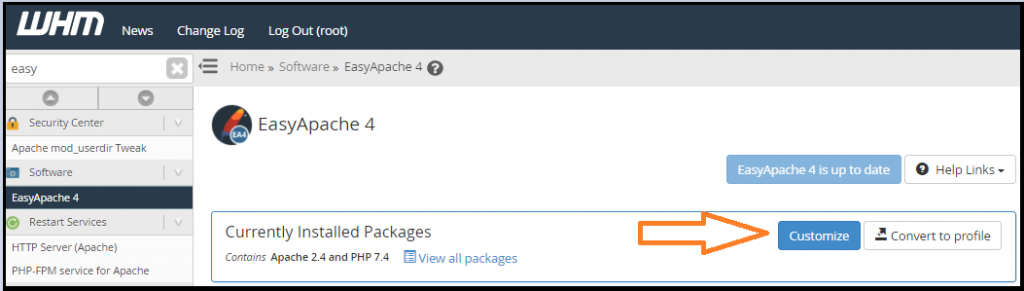
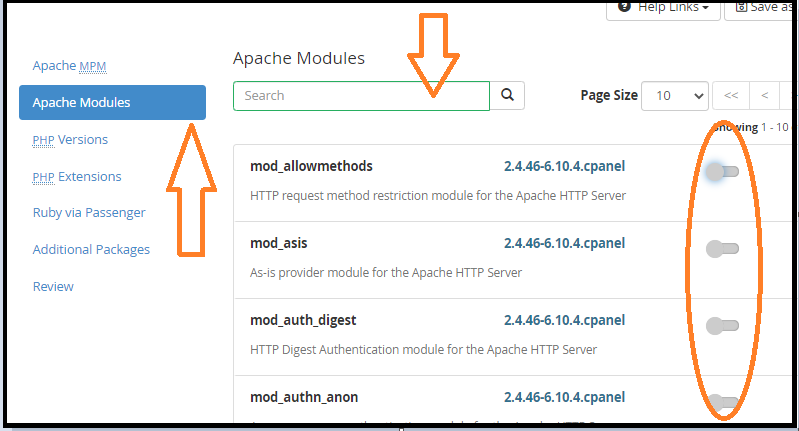
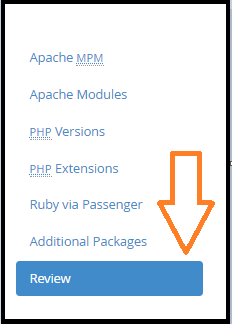
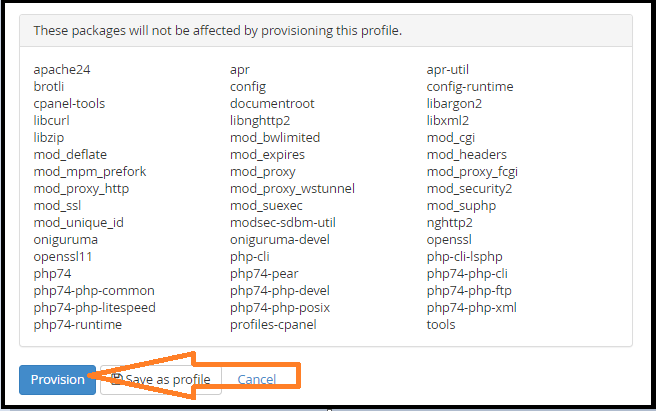

In this way, the installation of an Apache module in WHM is done.

Explore more hosting insights, tips and industry updates.
When working with Git, branches allow developers to work on different features or fixes without…
VPS is one of the most important and effective technologies in the web hosting world.…
The following article explains how to double-check the number of IP addresses in WHM. It’s…