
SysCP – Open Source Control Panel
What is SysCP? SysCP is a web-based control panel designed to help administrators manage hosting…

In this article, you will learn how to install an Apache module in WHM using EasyApache 4.
Introduction
Apache modules help extend the functionality of the Apache web server. If you need to enable a specific module on your server, you can install it easily through WHM. Follow the steps below to complete the process.
Procedure:
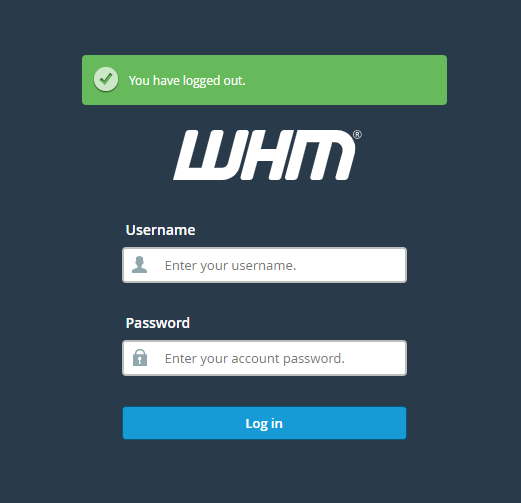
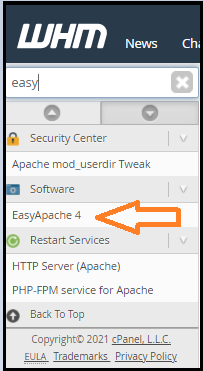
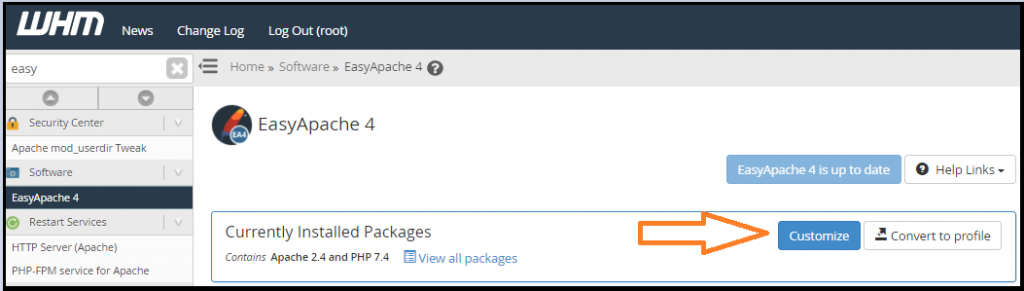
To install an Apache module in WHM, you may follow these steps:
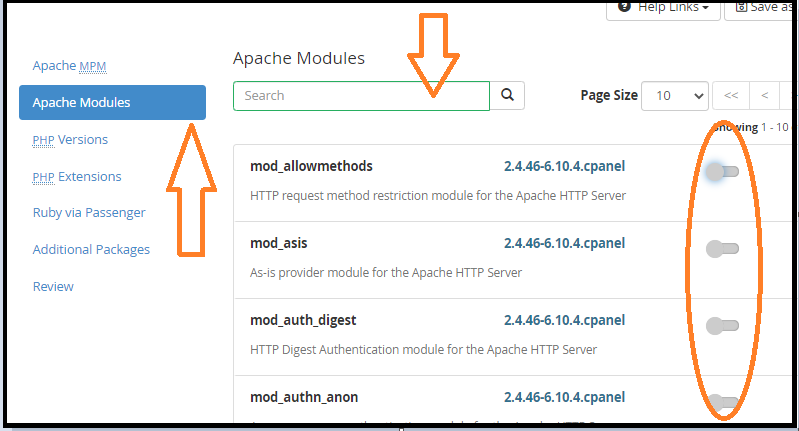
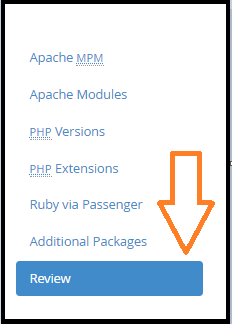
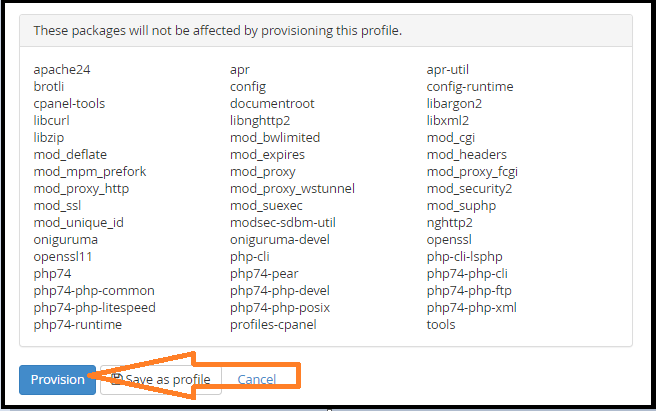
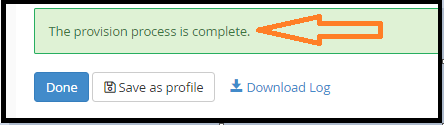
Once the provisioning is finished, the selected Apache module will be installed and available on your server.
If you face any issues during the process, you can contact the bodHOST support team for assistance 24/7.
Learn more Apache: Unable to configure permitted SSL ciphers

Explore more hosting insights, tips and industry updates.
What is SysCP? SysCP is a web-based control panel designed to help administrators manage hosting…
In this tutorial, we will explain to you how to make image thumbnails in cPanel.…
What is a VLAN?VLAN stands for Virtual Local Area Network. Technically, VLAN or virtual LAN…