Cloud Server Hosting – An Unique Platform for Business Operations
Cloud server hosting users experience higher performance of the servers. A cluster of network servers…

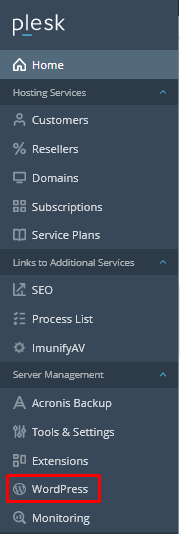
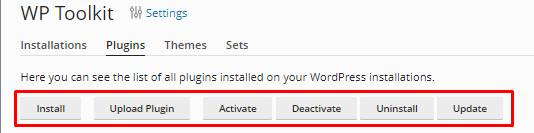
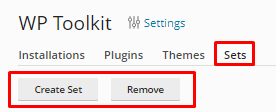
In this article, we will explain how to use the WordPress Toolkit in Plesk.
Follow the following steps to use WordPress Toolkit

In this way, you can easily use the WordPress Toolkit in Plesk. For more information, contact our support staff. Also, don’t forget to check out our latest bodHOST KBs.
Explore more hosting insights, tips and industry updates.
Cloud server hosting users experience higher performance of the servers. A cluster of network servers…
ASP.NET is a scripting framework that has been developed by Microsoft for web developers. That…
Encountering the ‘MySQL command not found’ error usually indicates that MySQL software is not installed…