This tutorial outlines the process of creating MySQL profiles via WHM. MySQL profiles govern the data linking between local or remote MySQL servers, and root users have the ability to both create and manage these profiles.
Follow the steps-
- Log in to WHM.
- Select “SQL Services” option and click on the “Manage MySQL Profiles” sub-option.
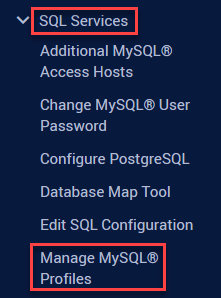
- Click “+Add Profile” button from the right side of the screen.

- A form type screen will open up. Fill in the information-
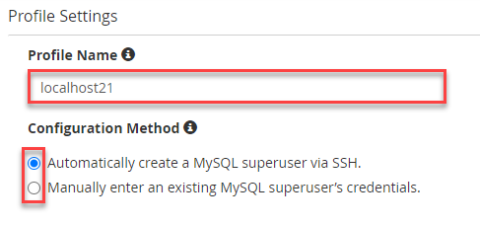
Profile Settings
- Profile Name- Enter the profile name.
- Configuration Method- Choose the configuration method. Decide whether you want to create it automatically by generating a MySQL superuser through SSH, or manually input the credentials of an existing MySQL superuser.
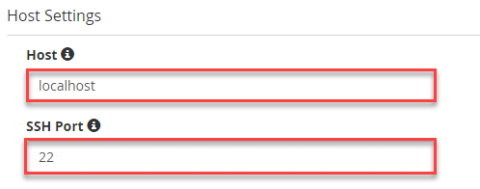
Host settings-
- Host- Input the IP address or hostname of the MySQL server.
- SSH Port- Enter the SSH port.
Login Information-
- Username- Enter login username.
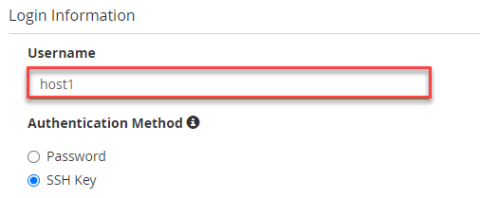
Authentication Method-
- If you opt for the “Password” authentication method, input the “Password” and “Escalation Method”.

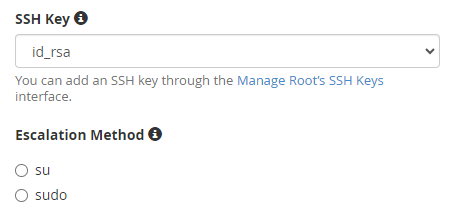
- If you choose “SSH Key” as the authentication method, input the “SSH Key” and “Escalation Method”.
- Click on the “Save” button.
- If you opt for the “Password” authentication method, input the “Password” and “Escalation Method”.
- Username- Enter login username.
By following these steps, the new MySQL profile will be added to the list. Utilise this method to create additional MySQL® profiles using WHM. For further details, feel free to reach out to our bodHOST support team.