Ten Simple Commands to Check Your Disk Space
The ‘du’ command in Linux is a standard Unix/Linux command to check the capacity of…

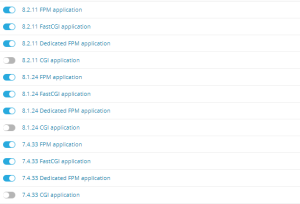
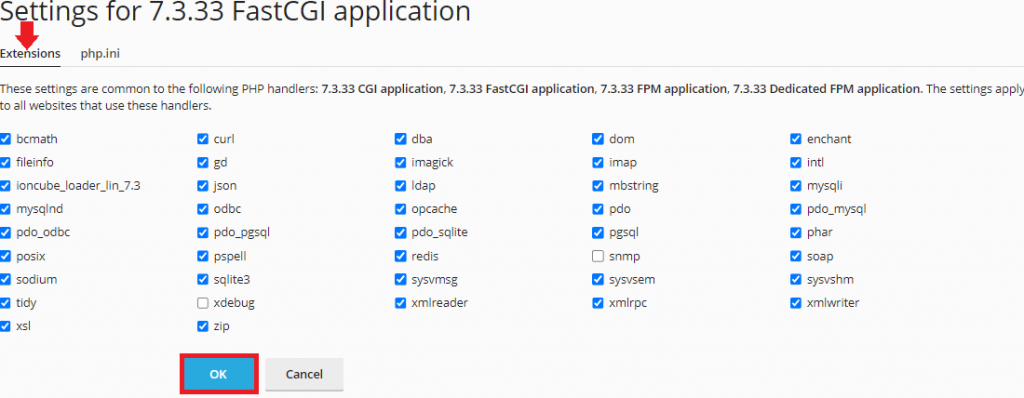
This post will show how you administrators can easily either enable or disable a PHP extension using a Plesk control panel.
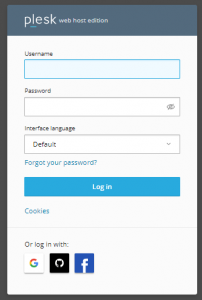
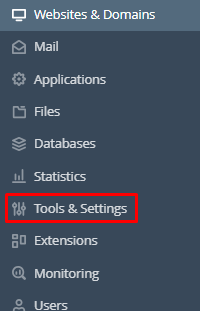
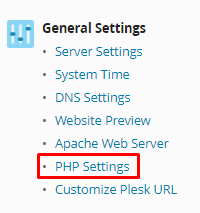
To enable or disable PHP extensions, follow the below-mentioned steps:
In this manner, you can enable or disable the PHP extensions depending on your needs. Hopefully, you found this post helpful. If you continue to experience issues or require additional assistance, you can reach out to our support team who are available 24×7. Also, check out their web hosting services.

Explore more hosting insights, tips and industry updates.
The ‘du’ command in Linux is a standard Unix/Linux command to check the capacity of…
This article explains how to use the DIG (Domain Information Groper) command, an essential tool…
Managing your domain’s DNS settings is critical for ensuring your website runs smoothly and emails…