Steps To Apply For A PayPal Credit Card
You have to log in to your admin area. Click on the ”products and services”…

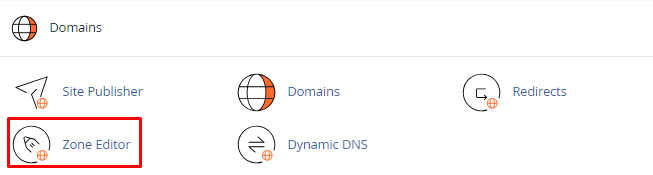
In this article, we will explain how to use the DNS zone editor in cPanel.
Follow these steps to use the DNS Zone Editor in cPanel:
How to Add a DNS Record


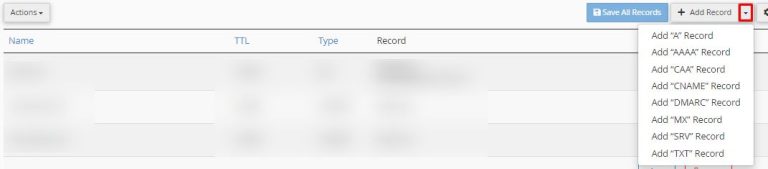
How to Edit DNS Record


How to Delete DNS Records.
In this way, you can manage your DNS records in cPanel. For more information on cPanel, visit the bodHOST knowledge base section. You can read more about How to Flush the Local DNS Cache in Linux Server
Explore more hosting insights, tips and industry updates.
You have to log in to your admin area. Click on the ”products and services”…
Taking the backup of your hosting account is important for your business to stay afloat…
This tutorial will teach you how to create a Sub-Domain in Plesk. A subdomain is…