How to Configure Spam Assassin to Tag Emails as SPAM
By configuring Spam Assassin, you can automatically detect unwanted emails and tag them with a…

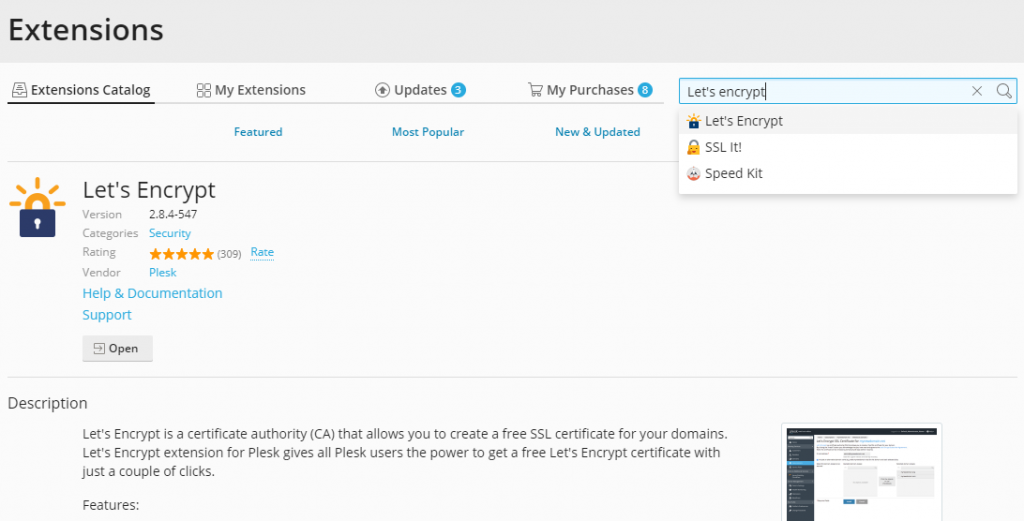
In this article, learn to install a free Let’s Encrypt SSL Certificate for a domain using Plesk Onyx.
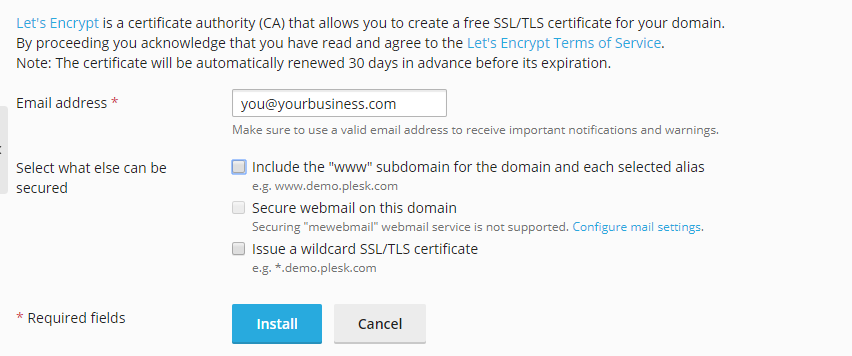
Important Note:
Before securing your domain using a Let’s Encrypt SSL, ensure that the domain resolves to the Public IP address of the Plesk server over the Internet.
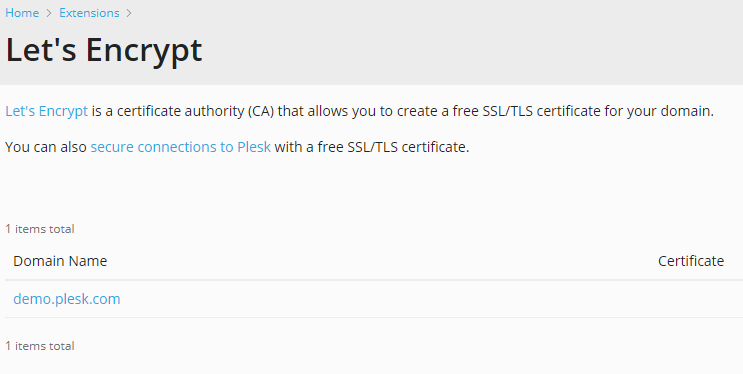
Steps for Installing
Learn more: How to Install an SSL Certificate on NGINX
Explore more hosting insights, tips and industry updates.
By configuring Spam Assassin, you can automatically detect unwanted emails and tag them with a…
This guide explains how to add to the PATH on Windows 10 and Windows 11,…
In this article, we will show you how Plesk allows you to customize your account.…