A well-liked tool for developing, testing, and modifying APIs is Postman. This is a step-by-step tutorial for setting up Postman on a Windows 10 PC.

To install Postman on your Windows system, follow these steps:
  1. Open any web browser
    Go to https://www.postman.com/.
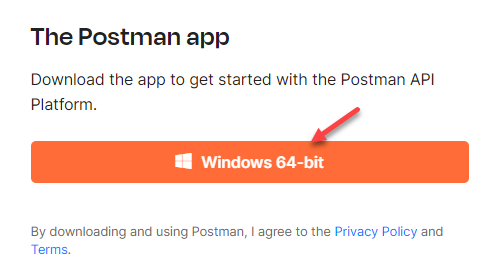
  2. Download Postman for Windows:
    Click on the Windows button to initiate the download.
  3. Choose the 64-bit version:
    Select the Windows 64-bit option to download the appropriate version.
    windows
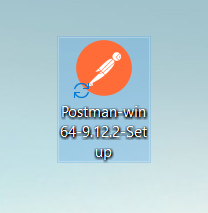
  4. Run the executable file:
    Once the download is complete, locate the executable file in your system’s Downloads folder and double-click to run it.
    executable
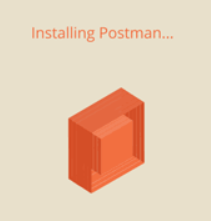
  5. Start the Installation Process:
    The installation process will begin, which typically takes about a minute to complete.
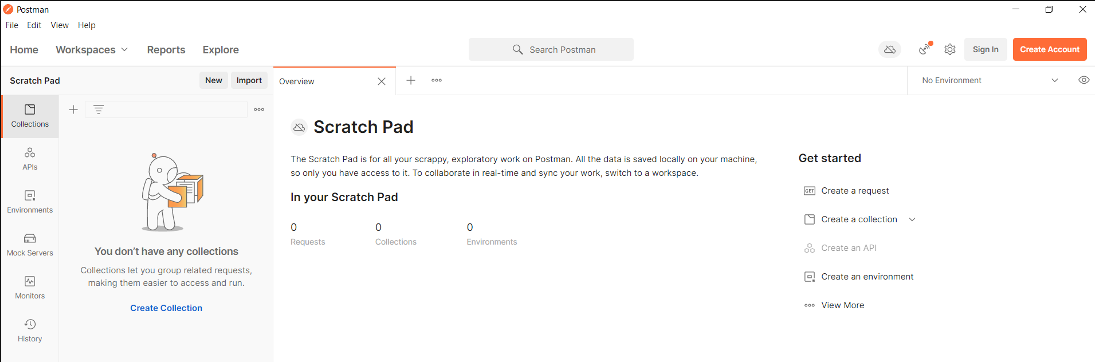
  6. Launch Postman:
    After the installation is finished, the Postman software will open automatically, displaying its interface.
    interface
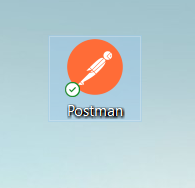
  7. This way, you have successfully installed Postman on your Windows system, and a desktop icon has been created for easy access.

That is it! Seek help from our support team if required.

Popular Posts You May Read

Explore more hosting insights, tips and industry updates.

How to Fix WordPress 403 Forbidden Error

The 403 Forbidden Error in WordPress indicates that the server understands the request but refuses…

How to add FTP Account in Plesk

How to add FTP Account in Plesk

You’ll learn how to add an FTP account in Plesk for each user in this…

One-click Hosting

One-click hosting refers to a type of web service that allows internet users to upload…