
How to Add to the PATH on Windows 10 and 11
This guide explains how to add to the PATH on Windows 10 and Windows 11,…

In this article, we will explain to you how to create an Email filter in Webmail. Filters help you manage your emails by shifting them to appropriate folders and clearing out your inbox.
Let us follow the steps to create an Email filter in Webmail:

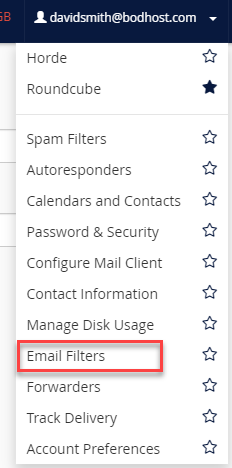
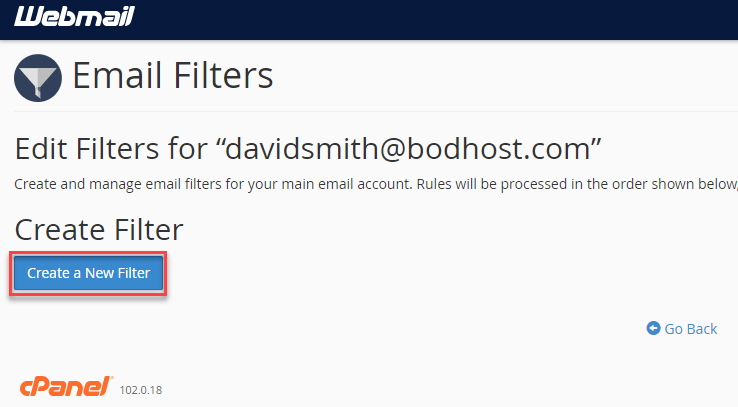
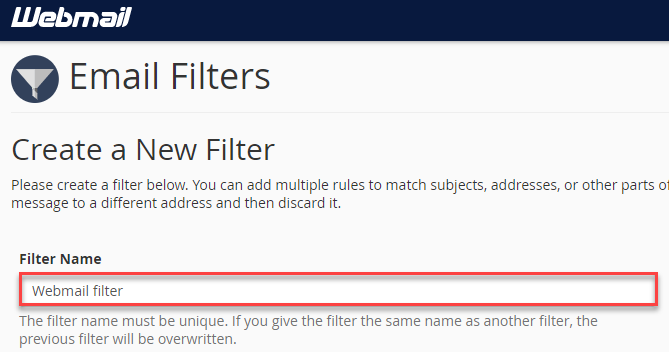

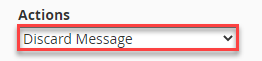


This is the easiest way to create an Email filter in Webmail. If you face any difficulty, you can contact bodHOST support staff at any point. Also, check out our updated web hosting plans.
You can learn more about how to create a Global email filter in cPanel. Setting a Global email filter for your email accounts will aid you in automatically organizing all incoming emails.

Explore more hosting insights, tips and industry updates.
This guide explains how to add to the PATH on Windows 10 and Windows 11,…
Python is a popular programming language mostly used for web development, data analysis, artificial intelligence,…
In this tutorial, we’ll explain how Tomcat 8 and EasyApache Setup Guide The article will…