TikiWiki CMS/Groupware
Tikiwiki is a content management system, which allows you to create wiki-based websites. This application…

 Serena
In this article, we will show you how to change the Apache DirectoryIndex Priority.
Let’s check it out!
The Apache DirectoryIndex priority can be changed using the following steps given below:
To change the global Apache configuration for all users, you can log into WHM and Follow the steps as discussed below:
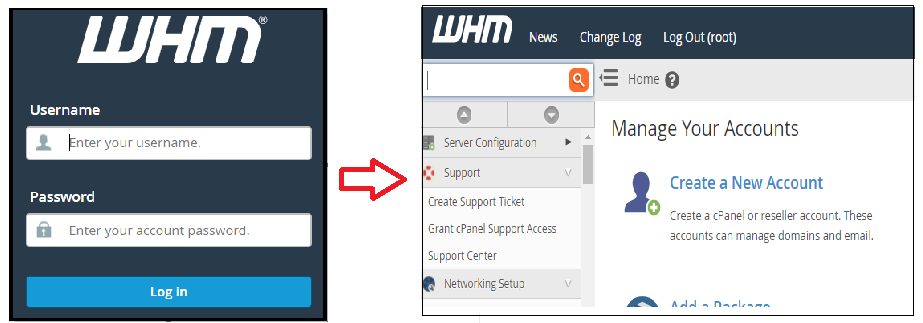
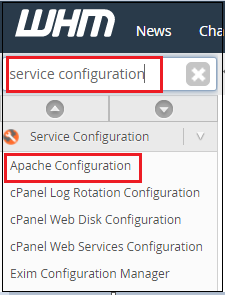
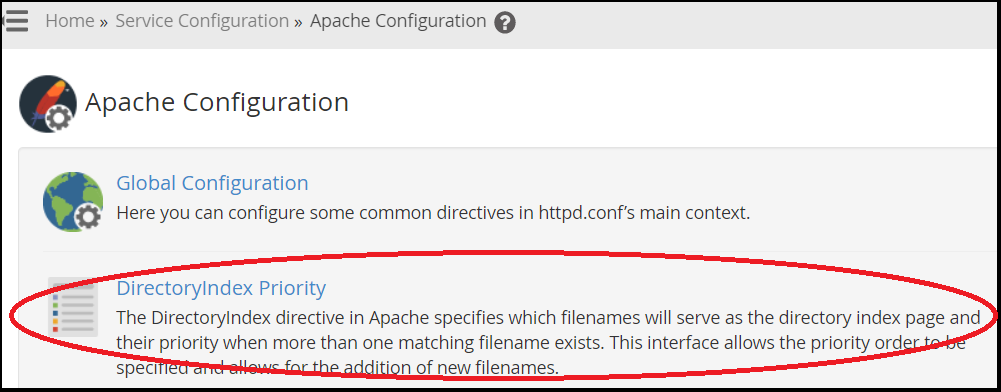
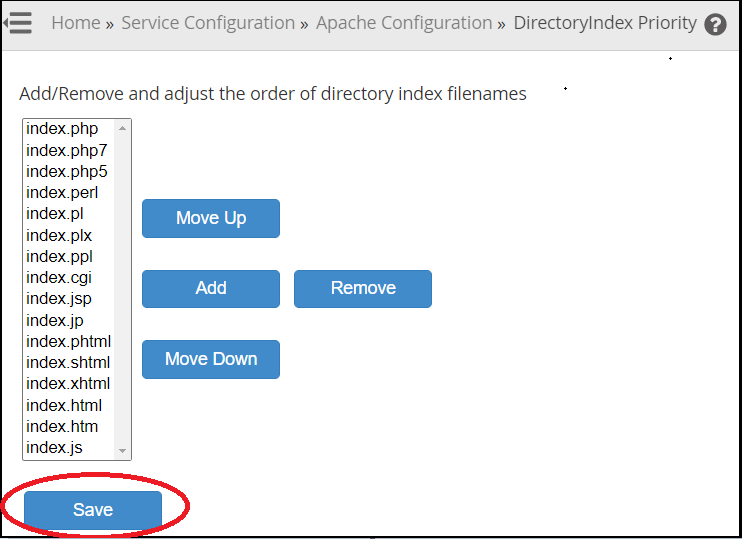
DirectoryIndex index.html index.php
In this way, the change occurs in the Apache DirectoryIndex Priority. However, if you still face any difficulty in the procedure mentioned above, feel free to reach out to the bodHOST Team for proactive support 24×7.
Read more about How to Setup Apache Virtual Hosts in CentOS 7

Explore more hosting insights, tips and industry updates.
Tikiwiki is a content management system, which allows you to create wiki-based websites. This application…
An SSL certificate works with a private key to secure communication between a server and…
In this article, we have explained what is the difference between a website, a domain…