Analyze the Top Five Web Log Analyzers in 2016
Websites that are directly boosting business growth are always complicated for business owners and the…

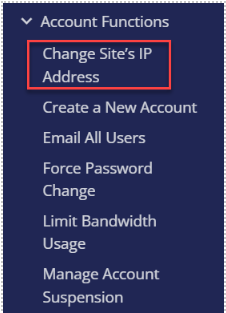
If you are a Webmaster, you should be thoroughly familiar with the WHM program. The WHM, Web Host Manager, is available through your control panel. If you wish to assign a dedicated IP address to your virtual or dedicated server, you will need to utilize this feature.
In this guide, we will learn how to assign a dedicated IP to a cPanel account using WHM. It helps improve security, email deliverability, and also supports SSL configurations, especially while managing a VPS or dedicated server.
Important instruction:
Before changing an IP in WHM, schedule it during off-peak hours to avoid downtime, inform users in advance, update third-party DNS records if used, and check with your host or admin if unsure about IP or DNS settings.
At the same time, it is best to schedule this update, during your site’s slower hours. This will help to limit inconveniences and complaints.
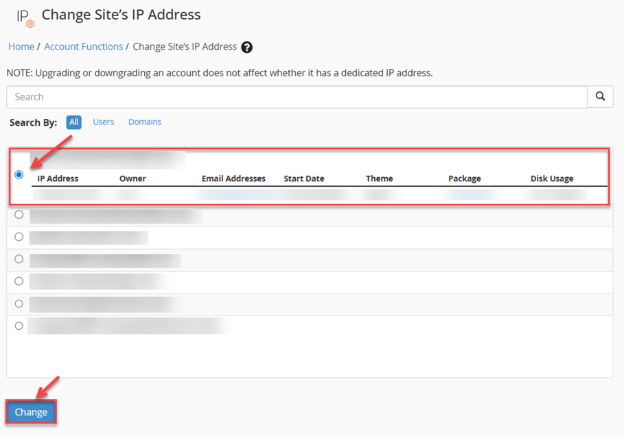
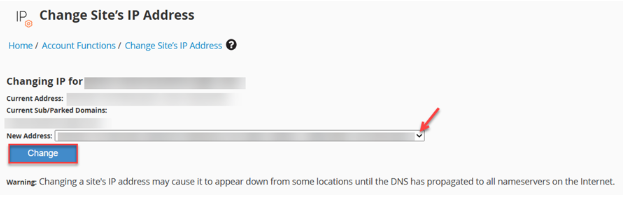
Let us follow the steps given below:
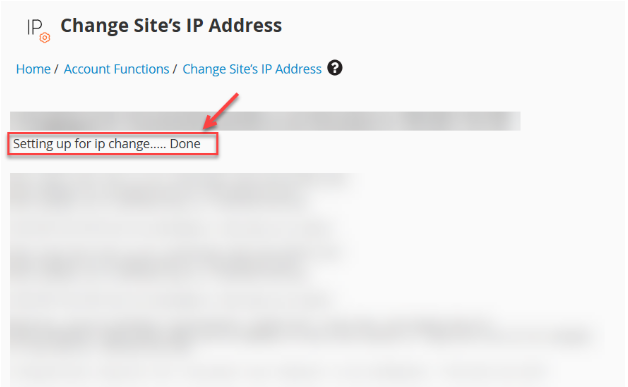
From the above-outlined article, assigning a Dedicated IP to a cPanel account using WHM is at your fingertips. Hope you found it to be easy and helpful. However, if the IP change hasn’t taken effect after 24 hours, please contact our support team for assistance.
Explore more hosting insights, tips and industry updates.
Websites that are directly boosting business growth are always complicated for business owners and the…
On Linux systems, the /var/log directory stores important system logs such as authentication, cron jobs,…
This guide will explain what domain privacy protection is, how it works, why it’s important,…