How to Remove Backup Files from Server Using Plesk
You can delete any backup files from the server storage and remote storage in this…

 Vincer
In this article, we will demonstrate how to do a ping test in Windows. In the ping command, data packets are sent to a specific IP address on a network, and the time it took to transmit the data and receive a response is returned. It is a really handy tool because it allows you to quickly test various points on your network.
To perform a ping test on Windows, follow these steps
1. Go to the “Start” menu.
2. From the menu, choose “Run.”
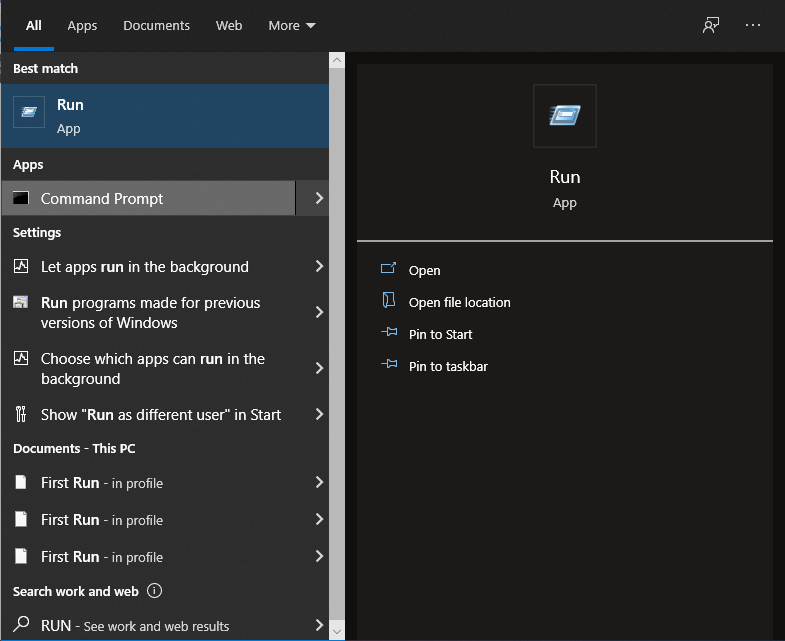
3. Now, you need to type the “cmd” command on the run search bar
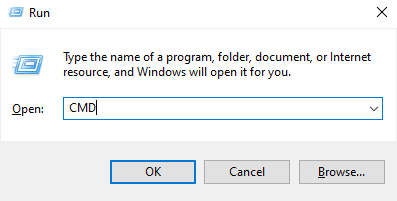
4. Type ping followed by the domain name when the command prompt appears. Type “ping domain.com” and hit enter, for example.
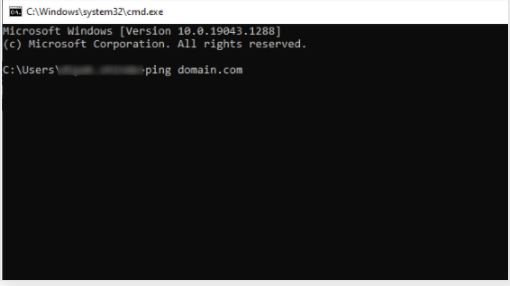
This procedure will display the ping results from your computer to the domain you ping. You may also use the ping feature with IP. To do so, open a command window and type ping followed by the IP address. For instance, try pinging 1.2.3.4.
Look at the bodHOST packages if you’re looking for a dependable and secure Windows hosting platform. They are jam-packed with cutting-edge features and provide exceptional customer service.
Read Also: What Is Storage Pool and Space In Windows Server?

Explore more hosting insights, tips and industry updates.
You can delete any backup files from the server storage and remote storage in this…
Please make a note, that WHM makes the changes accordingly, and in rare situations, you…
Linux environment variables play a crucial role in configuring the operating system and the applications…