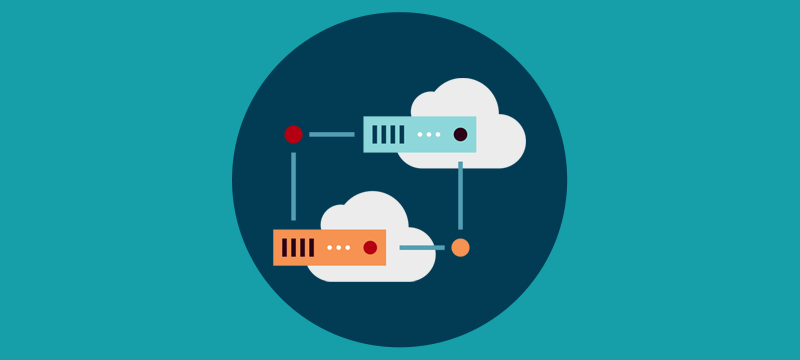
Your efforts are bearing fruit. Your business is thriving and traffic to your website is increasing, more resources are required to deal with increased visitors to your website. Your current server capacity may not be sufficient to handle the increased demand, resulting in increased outages or delayed loading times. You can either continue to scale your managed VPS hosting plan or switch to a dedicated server.
The transition from VPS to dedicated must be done carefully so as not to disrupt the operation of your website or result in the loss of vital data stored on it.
Here are the 10 Steps for a Smooth Migration
- Find the right hosting provider When switching from VPS to a dedicated server, the first step is to select and purchase a dedicated server web hosting plan. You will need a dedicated hosting server with enough storage, CPU, and RAM to operate your applications. You have the option of migrating to a dedicated server hosting plan provided by your current hosting provider or switching to a new provider. This will be determined by your resource needs, the pricing of such hosting solutions, and a variety of other considerations such as the level of support and features included in the hosting plans.
- Hold on to VPS hosting for a while Do not be in a hurry to cancel your VPS plan as it can cause a problem if the migration process gets delayed or raises issues. Make sure that VPS services are running temporarily until you have a fully functioning website and all the applications are running smoothly.
- Check the server IP address To prevent undesirable problems, it is crucial to examine the new server’s IP address to ensure that it is not blacklisted. In general, IP addresses are restricted because the server is suspected of engaging in malicious activities. If the IP address is blacklisted, all communications to and from the server are banned, rendering your website inoperable.
- Back-up data It is important to back up your information and data before migrating. This is so that you can protect your data if there are any issues during the transition process. Make a backup of the files on your dedicated server after the migration is complete. You should still retain a backup of your VPS files as insurance in case something goes wrong.
- Make no changes during migration Don’t make changes to your site when migrating from a VPS to a dedicated server since changes, additions, and updates made to your site’s content may be lost. Any adjustments that need to be made should be done before or after the website has been successfully migrated.
- Install software and apps It is now time to transfer your database to your dedicated server. But before that make sure you install all the normal web applications first. After your standard files and apps have been uploaded to your new server, you can upload your database.
- Transfer all your Emails Don’t make changes to your site when migrating from a VPS to a dedicated server since changes, additions, and updates made to your site’s content can be lost. Any adjustments that need to be made should be done before or after the website has been successfully migrated.
- Test the website and applicationsNow that you have successfully transferred all of your VPS files, information, and emails to your new server. It is now time to see how your website performs on the new server. Check that the links, features, and images are all operational. Check how well your website is operating and make sure everything is in order. You should also verify the performance to ensure that you are satisfied and that everything is working properly.
- Transfer DNS Once you have completed the testing stage several times and you are content with the performance, it is time to transfer DNS from VPS to the new server. This will redirect all your web traffic to the new IP address. Usually, DNS propagation takes 24-48 hours.
You can reduce downtime by keeping your VPS account open and running until the DNS transfer is complete. While this is convenient, it may pose complications if someone makes a purchase on your VPS account during the transfer, as this will not be recorded on the dedicated server. An easier approach is to show a maintenance page on your VPS throughout the transfer and to notify clients ahead of time of any expected disruption.
- Cancel VPS plan Once the migration is complete and your website is working efficiently on the new dedicated server, you can cancel it unless you wish to use your old VPS for something else.
Conclusion
If you do not have a technical background, migration can be a challenging process. The ten steps outlined here will hopefully make the process a little easier for you.
If you are migrating to one of our dedicated server hosting plans, our team of specialists is ready to provide you with the assistance and direction you require, so you may concentrate on reaping the benefits of our dedicated servers.