Restore cPanel Accounts using the “Transfer” option in WHM
Follow the following steps to restore cPanel accounts using the transfer option Log into your…

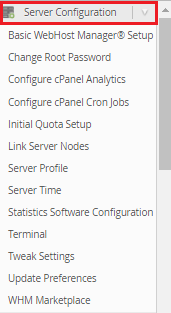
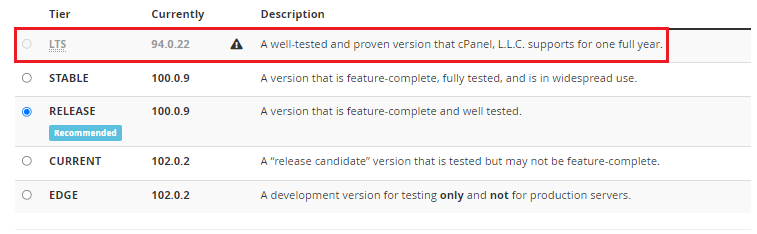
This article will explain the process of updating your cPanel software to the most recent version. Check your cPanel Update Preferences after you’ve completed the CentOS 7 upgrade. We recommend that they be set to LTS.

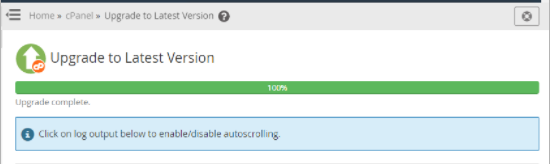
Note – Keep in mind that once the update is complete, you must reload the WHM in order for the changes to take effect. After executing the manual upgrade, it may take up to an hour (or somewhat longer) for the upgrade to complete. You can check your new cPanel version in the upper right-hand corner of the WHM panel if the upgrade is finally complete.
We hope that you now have a good understanding of How Can You Upgrade Your cPanel Software. If you continue to have problems with the protocol outlined above, please contact the bodHOST Team for constructive assistance 24/7.
Explore more hosting insights, tips and industry updates.
Follow the following steps to restore cPanel accounts using the transfer option Log into your…
What Is The Purpose Of A Private SSL Certificate? is the topic of this article.…
This guide will help you in removing the cPanel accounts using WHM. Termination is final…