How Do You Turn On Hotlink Protection
In this article, we will explain to you What Is Hotlink Protection and the process…

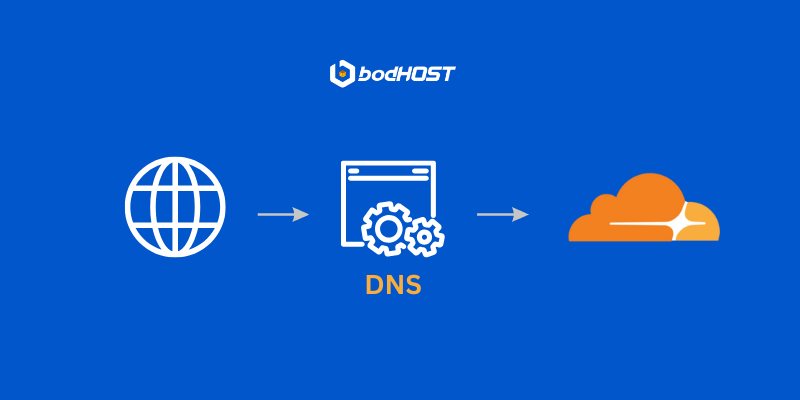
Setting up DNS records for your domain in Cloudflare is one of the most important steps to connect your website with your hosting account securely and efficiently. Whether you’re migrating your website or configuring a new one, properly managing DNS records ensures your domain resolves the right IP and functions without downtime.
In this article, we will help you understand the complete process from adding your domain to Cloudflare, to creating and verifying DNS records, so your website stays online, protected, and optimized.
Cloudflare’s DNS management makes your website faster, safer, and easier to manage. When you complete your Cloudflare DNS records setup for your domain, you get several benefits:
Tip: If your website is hosted with bodhost, using Cloudflare DNS can make it even more secure and boost loading speed.
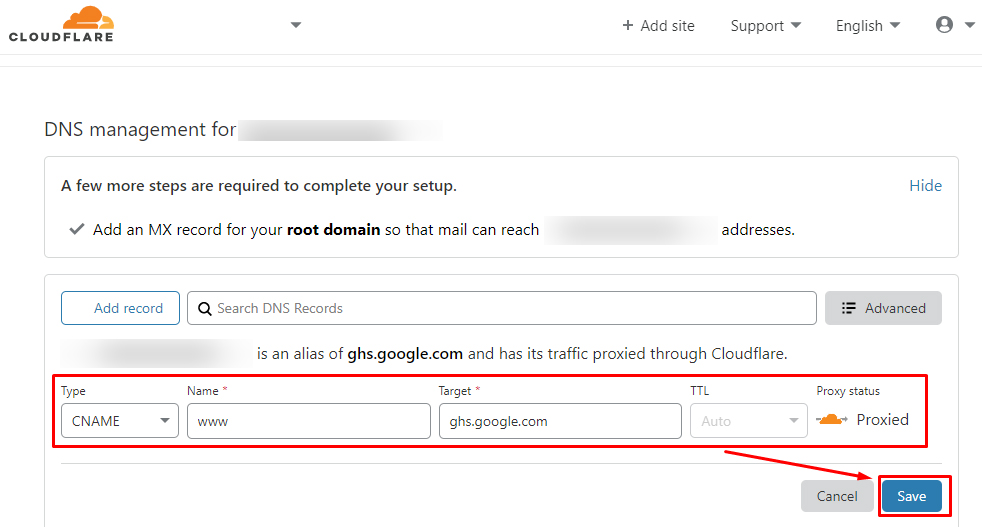
If any DNS records are missing, you can manually add DNS records in Cloudflare during this setup process.
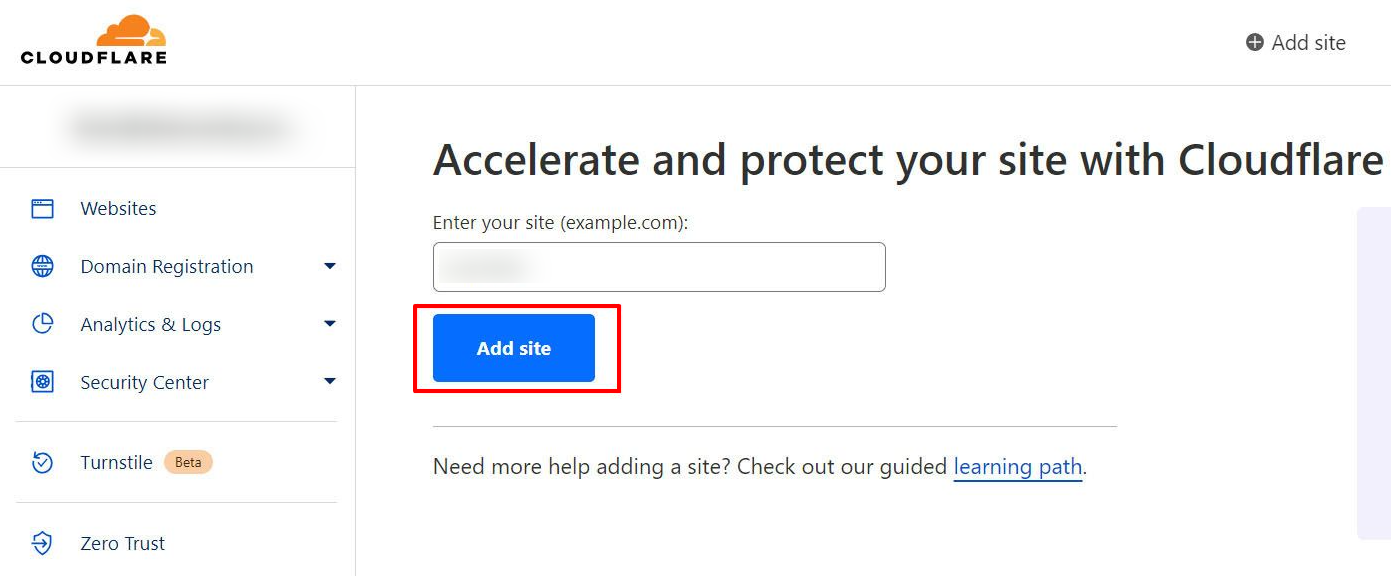
Once your site is added, you will be directed to the DNS management panel. This is where you can add or modify DNS records in Cloudflare.
The Cloudflare DNS records setup lets you add A, CNAME, MX, and TXT records to connect to your domain, manage emails, and verify ownership. In short, you can easily use Cloudflare to add A CNAME MX TXT records configuration for your domain within the dashboard.
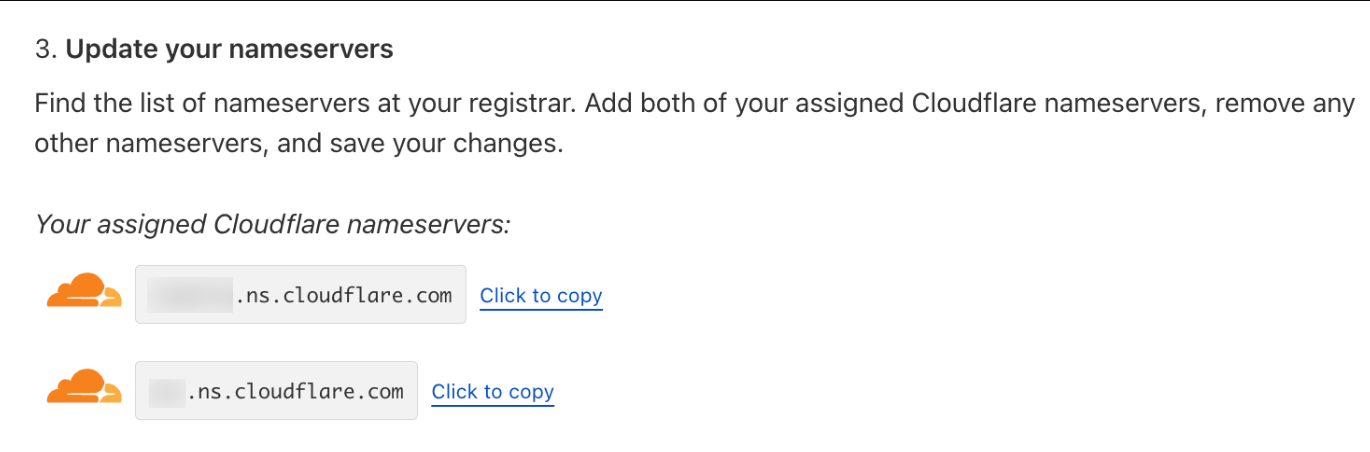
Here’s a reference for how to update nameservers to Cloudflare:
| Record Type | Purpose | Example |
| A Record | Maps your domain to your hosting IP address | A @ → 192.168.0.1 |
| CNAME Record | Points a subdomain to another domain | CNAME www → yourdomain.com |
| MX Record | Handles email routing | MX → mail.yourdomain.com |
| TXT Record | Adds SPF/DKIM or verification data | TXT → v=spf1 include:bodhost.com ~all |
To add a new record:
Tip: For websites hosted with bodHOST, you can find your DNS details under your hosting account’s “DNS Zone Editor” section.
Once your DNS setup is complete, Cloudflare will display two nameservers (for example, amy.ns.cloudflare.com and john.ns.cloudflare.com).
Here’s how to update nameservers to Cloudflare:
You can check propagation progress using tools like whatsmydns.net.
After your nameservers are updated and propagation completes:
If there’s any issue:
Setting up DNS records for your domain in Cloudflare helps improve your site’s speed, reliability, and security. By correctly configuring A, CNAME, MX, and TXT records, and updating your nameservers, you ensure seamless connectivity between your domain and bodHOST hosting.
If you’re unsure about any steps, contact bodHOST Support. Our experts will guide you through your DNS setup.
Read more about our other article here: View the error logs in cPanel
Explore more hosting insights, tips and industry updates.
In this article, we will explain to you What Is Hotlink Protection and the process…
This tutorial assumes you are already logged in to PayPal. Click on the profile link.…
In this world of information and technology, companies are finding different ways to improve their…