
How to Check and Repair a Database in phpMyAdmin
This article helps you in understanding how to check and repair a database using phpMyAdmin…

In this article, you will find the installation process of an Apache module in WHM.
Introduction
You may follow the steps below to install an Apache module using WHM.
Procedure:
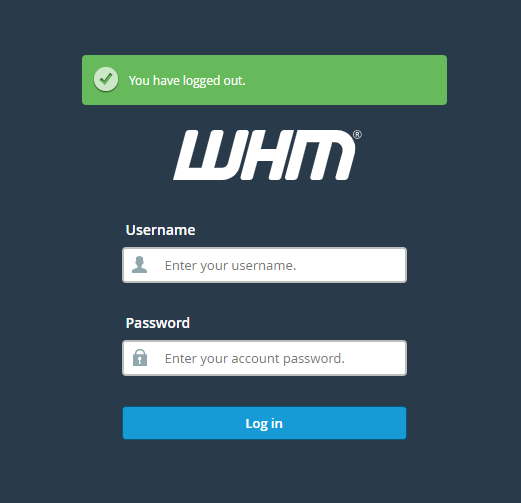
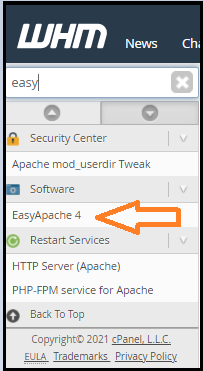
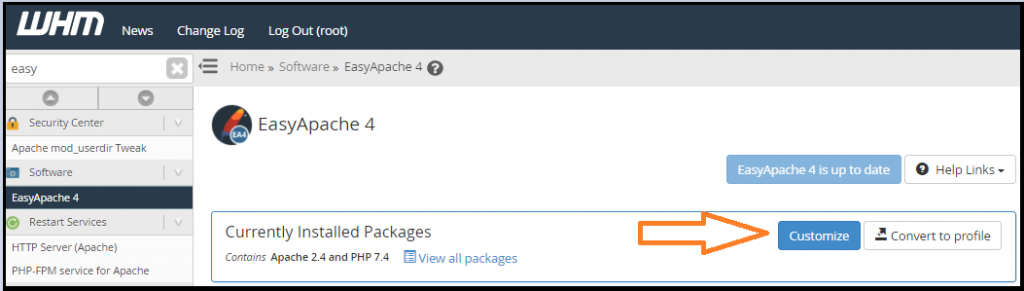
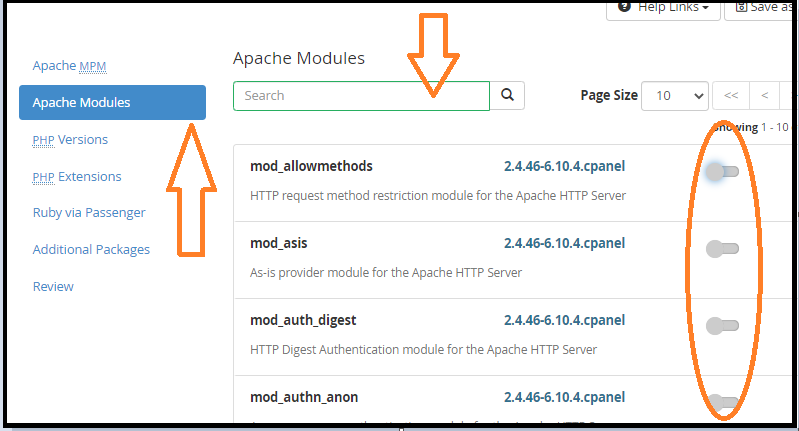
To install an Apache module in WHM, you may follow these steps:
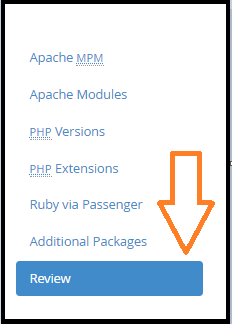
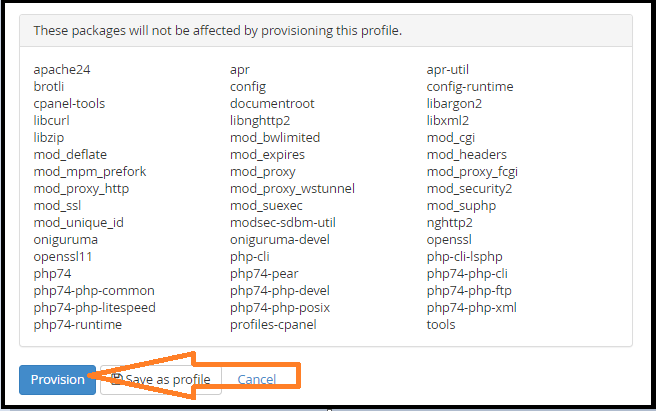
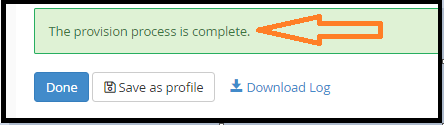
In this way, the installation of an Apache module in WHM is done.

Explore more hosting insights, tips and industry updates.
This article helps you in understanding how to check and repair a database using phpMyAdmin…
In this article, you will learn how to insert a PDF in WordPress without the…
This guide provides assistance on how to remove or access the Encryption Key within cPanel,…