
How to Automatically Block or Disable a Potential Spammer
Users who are identified as potential spammers may have their outgoing mail automatically blocked or…

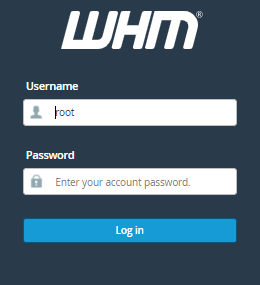
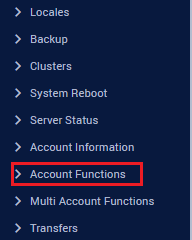
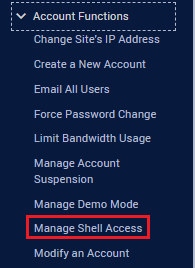
In this article, we are going to cover How to Manage Shell Access via WHM.
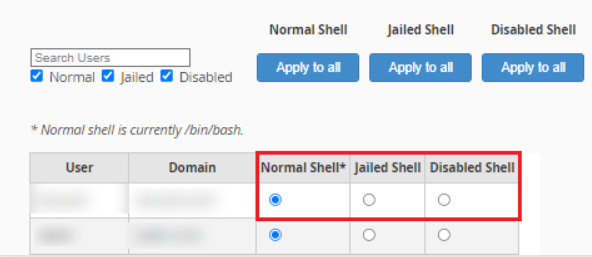
You can access the remote server’s command-line interface by enabling Shell access, also referred to as SSH. You can give a limitless number of users shell access.
If you are aware that there are three different types of Shell access.
You can enable or disable shell access using Manage Shell Access.
We hope that you now have a good understanding of How to Manage Shell Access in WHM. If you still have problems with the protocol outlined above, please get in touch with the bodHOST Team.

Explore more hosting insights, tips and industry updates.
Users who are identified as potential spammers may have their outgoing mail automatically blocked or…
Here are steps to resolve LVM/MD configuration error in Remote Backup 1) log in to…
HTML (HyperText Markup Language) is the standard language used to create and structure web pages.…