
Microsoft ISA Server – Features and Prerequisites
Microsoft ISA Server (Internet Security and Acceleration Server) helps manage and secure connections between different…

This post will show how you administrators can easily either enable or disable a PHP extension using a Plesk control panel.
To enable or disable PHP extensions, follow the below-mentioned steps:
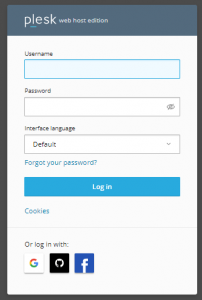
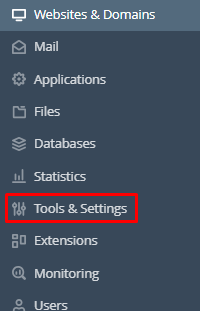
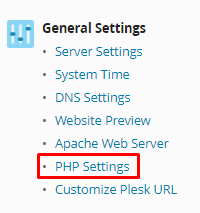
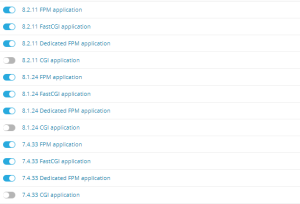
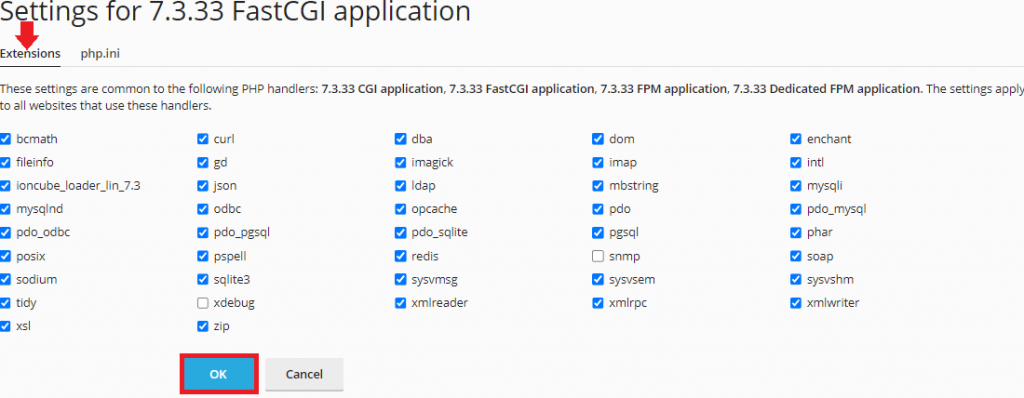
In this manner, you can enable or disable the PHP extensions depending on your needs. Hopefully, you found this post helpful. If you continue to experience issues or require additional assistance, you can reach out to our support team who are available 24×7. Also, check out their web hosting services.

Explore more hosting insights, tips and industry updates.
Microsoft ISA Server (Internet Security and Acceleration Server) helps manage and secure connections between different…
In this short & sweet tutorial, we will try to make our system admin’s job…
Restoring a cPanel account is useful when you need to recover a website, email accounts,…