CentOS Dedicated Servers: Key Directories and Features
CentOS dedicated servers are widely used because of their stability, flexibility, and compatibility with popular…

To Enable or Disable PHP Extensions in cPanel is a very common task when you are running WordPress, Laravel, or any PHP-based application. Some plugins and frameworks require specific PHP extensions to function properly, while others may conflict with unused modules.
In this guide, we will show you how to enable or disable PHP extensions in cPanel using simple, beginner-friendly steps.
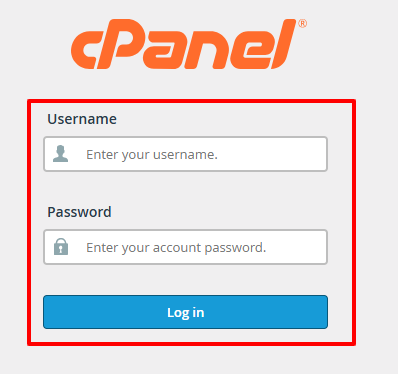
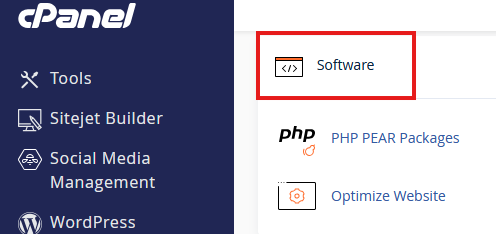
To enable or disable PHP extensions in cPanel, log in to cPanel, open Select PHP Version, choose your PHP version, go to the Extensions tab, and check or uncheck the required modules. The changes apply instantly and do not require a server to restart.
PHP extensions are libraries that add extra functionality to PHP. Without the required extensions, your website may show errors, fail to load features, or break completely.
Common use cases:
Keeping only required PHP extensions enabled helps improve performance, security, and stability.
Before making changes, it is always good to verify which extensions are already active.
Steps:
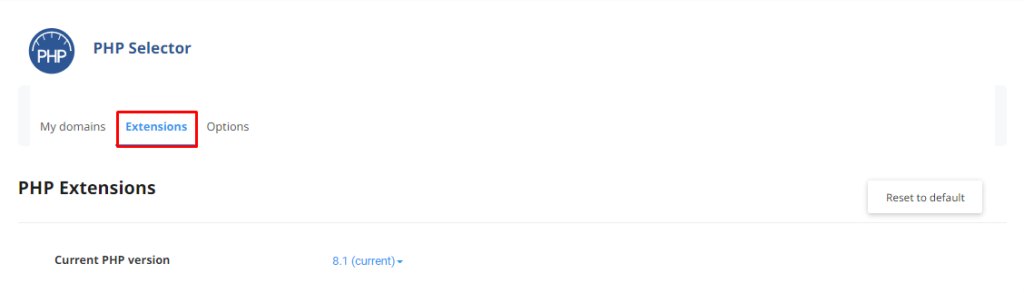
You will see a list of PHP extensions with checkboxes indicating their status.
This is the most commonly used method on Cloud Linux servers.
Tip: No server restart is required. Changes take effect instantly.
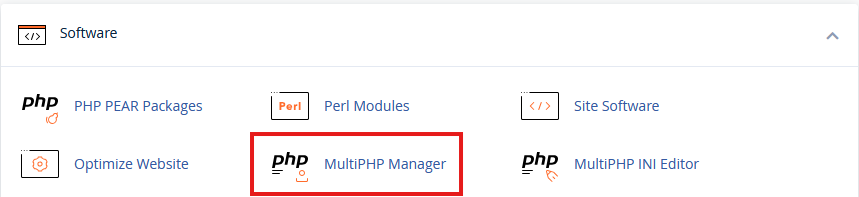
This method allows you to manage PHP versions per domain.

To manage extensions after this, return to Select PHP Version and update extensions accordingly.
You can refer to the following guide: How to check the PHP version & configuration in cPanel
| PHP Extension | Purpose |
| mysqli | Database connectivity |
| curl | API and external requests |
| mbstring | Multibyte string handling |
| zip | File compression |
| json | Data exchange |
| openssl | Secure encryption |
Managing PHP extensions in cPanel is a simple yet powerful way to optimize your website’s performance and compatibility. Whether you are enabling a required module or disabling unused ones, cPanel gives you full control without touching the command line.
If you are unsure which PHP extensions your website needs, the bodHOST support team is always here to help.
If this helped, Read More about our other knowledgebase: How to resolve Image Upload issues in WordPress
Explore more hosting insights, tips and industry updates.
CentOS dedicated servers are widely used because of their stability, flexibility, and compatibility with popular…
In this article, we will explain how to incorporate trash folder data into email disk…
Root servers are operated by different institutions. The Internet Corporation for Names and Assigned Numbers…