If Access is denied to a website when opening a Browser –
Use the IP address instead of the Domain name, if you are able to do…


 Vincer
If you ever find yourself needing to configure Windows Firewall settings in order to open or close ports, here is a step-by-step guide for opening ports in Windows Firewall
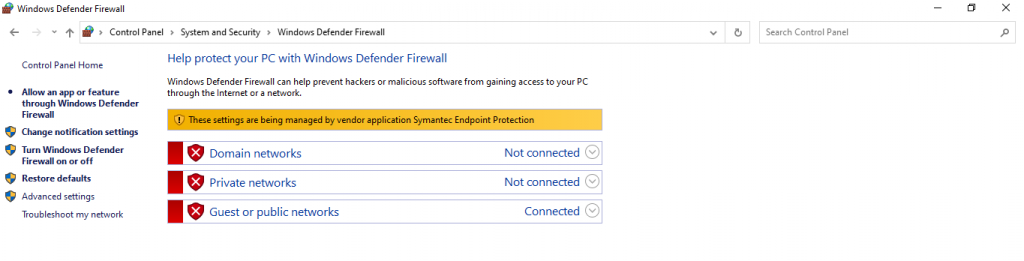
Step 1: Select ‘Windows Firewall with Advanced Security from the Start menu on your Windows PC.
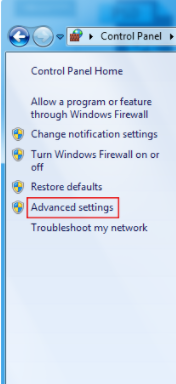
Step 2: Look ‘Advanced Settings’ on the left side.
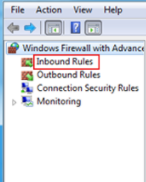
Step 3: Click on ‘Inbound rules.
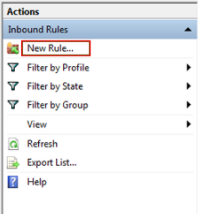
Step 4: Now, on the right-hand side window, click on ‘New Rule‘ under Actions. A new wizard called ‘New Inbound Rule‘ will open.
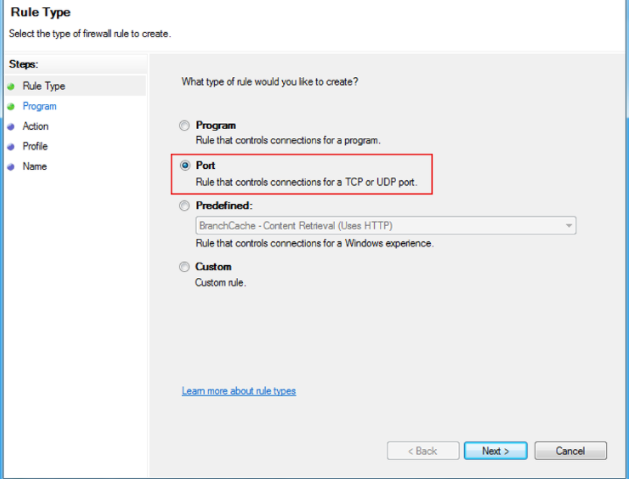
Step 5: ‘What kind of rule do you wish to create?’ it will ask. Select ‘Port’ and then press the ‘Next’ button.
Step 6: To create the rule, you need to select either TCP or UDP
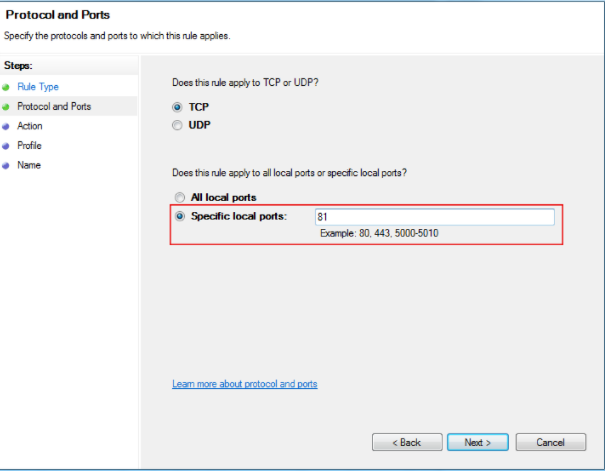
Make sure the option for “Specific local ports” selected, then input the port range. Fill in the port numbers you’d want to open. Comma-separated port numbers may also used to open multiple ports. This is also feasible if you wish to add a port range. Between the start and finish ranges, put a dash. For instance, 0123-0456.
When you’re finished, click the “Next” button.
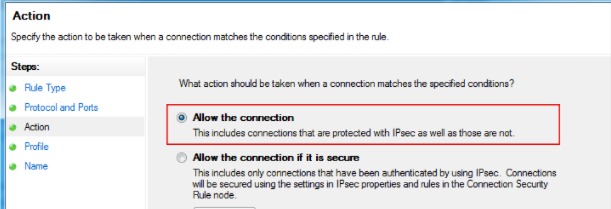
Step 7: Choose ‘Allow the connection’ in the following box and click the “Next” button.
Step 8: Choose your network type whichever is suitable and click “Next”.
Step 9: Type in the name and description and then click “Finish”.
A port on the firewall has now opened. If you wish to block the ports, follow the same procedures.
Please contact our bodHOST support staff if you need any further help.

Explore more hosting insights, tips and industry updates.
Use the IP address instead of the Domain name, if you are able to do…
This guide explains how to create a Global email filter in cPanel. Setting a Global…
A Git repository has multiple branches available both locally and remotely. Remote branches show the…