PHP Script to Test MySQL Database Connectivity
A test for MySQL database connectivity is done using the PHP script mentioned below. It…

 Serena
In this article, we will show you how to change the Apache DirectoryIndex Priority.
Let’s check it out!
The Apache DirectoryIndex priority can be changed using the following steps given below:
To change the global Apache configuration for all users, you can log into WHM and Follow the steps as discussed below:
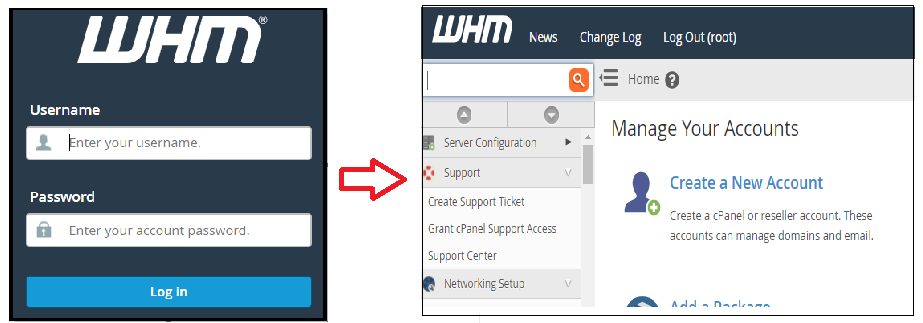
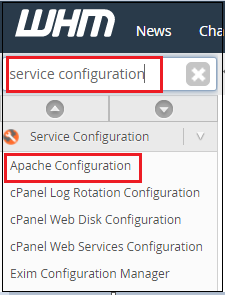
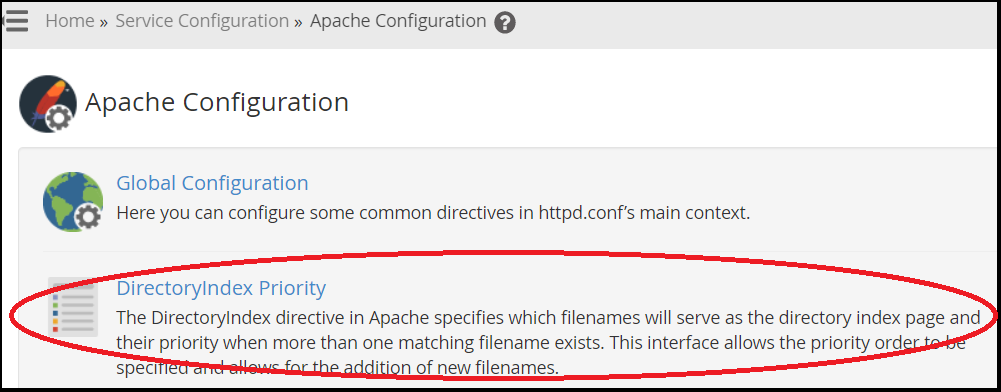
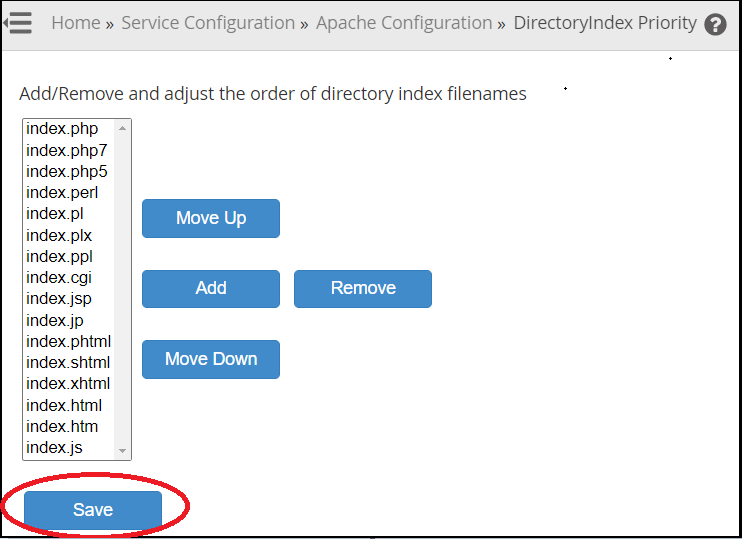
DirectoryIndex index.html index.php
In this way, the change occurs in the Apache DirectoryIndex Priority. However, if you still face any difficulty in the procedure mentioned above, feel free to reach out to the bodHOST Team for proactive support 24×7.
Read more about How to Setup Apache Virtual Hosts in CentOS 7

Explore more hosting insights, tips and industry updates.
A test for MySQL database connectivity is done using the PHP script mentioned below. It…
Activating the Google Authenticator plugin on your WordPress website is required before installing the Google…
What is a VLAN?VLAN stands for Virtual Local Area Network. Technically, VLAN or virtual LAN…