In this article, we will explain how to use the DNS zone editor in cPanel.

Follow these steps to use the DNS Zone Editor in cPanel:

How to Add a DNS Record
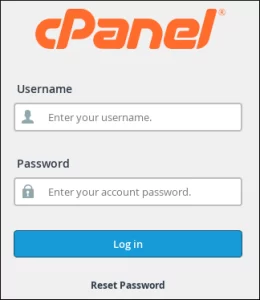
  1. Log into cPanel.
    cPanel
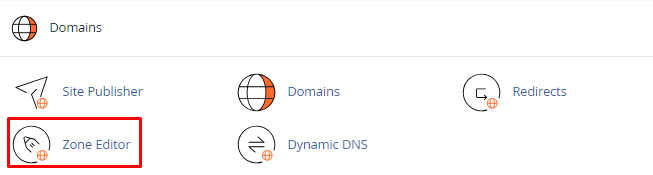
  2. Click on “Zone Editor” from the “Domain”.
  3. Select the “Domain”, and click on “Manage”.
    Domain”, and click on “Manage
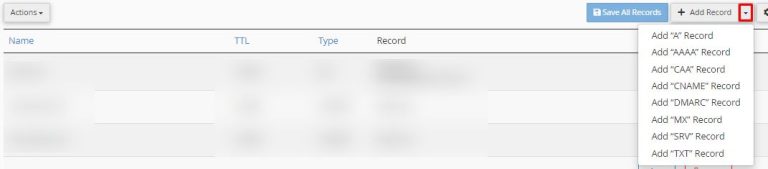
  4. Beside “Add Record,” click the downward arrow, and select the record type you wish to include
    Add Record
  5. Observe that the page now presents fields at the top of the list for entering the information about the new record. Proceed to input the record details into the corresponding fields.
    save-record
  6. Click the “Save Record” button.

How to Edit DNS Record

  1. Log into cPanel.
    cPanel
  2. Open “Zone Editor”.
  3. Choose the “Domain,” then select “Manage.”
    Domain”, and click on “Manage
  4. Click on “Edit”.
    edit
  5. Adjust the value or values you wish to modify, and then click “Save Record.” cPanel will proceed to update the record.
    save-reord1

How to Delete DNS Records.

  1. Log into “cPanel”.
  2. Click on “Zone Editor”.
  3. Select “Manage”.
  4. Find the record you wish to remove, and then, under the “Actions” menu, click “Delete.”
  5. Here you will get a Confirm Deletion prompt, click on Continue. cPanel will delete the record.

In this way, you can manage your DNS records in cPanel. For more information on cPanel, visit the bodHOST knowledge base section. You can read more about How to Flush the Local DNS Cache in Linux Server

Popular Posts You May Read

Explore more hosting insights, tips and industry updates.

Drupal Version

What is Drupal? Explaining Drupal is a little bit tricky but we’ll explain to you…

How to Assign a Domain to a Dedicated IP in WHM

If you are a Webmaster, you should be thoroughly familiar with the WHM program. The…

How to Create An Email List In Horde Webmail Client

Horde helps you establish multiple address books, but you must first learn how to create…