In this article, we will explain how to use the WordPress Toolkit in Plesk.

Follow the following steps to use WordPress Toolkit
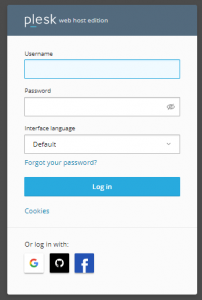
  1. Log into your “Plesk Account”.
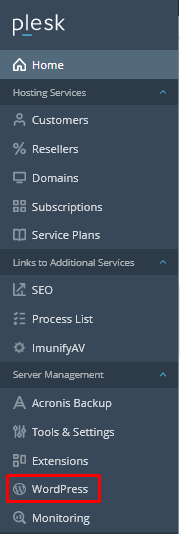
  2. Click on “WordPress”.
    WordPress
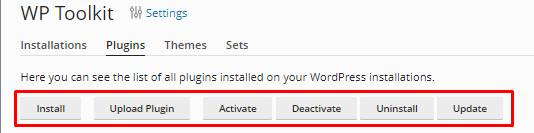
  3. Once, you open the “WordPress Toolkit” and Click on the “Plugins” option:
    Plugins
    1. Click Install to install a plugin.
    2. Click the Upload plugin to add a plugin.
    3. Click Activate to make a plugin active.
    4. Click Deactivate to turn off a plugin.
    5. Click Uninstall to remove a plugin.
    6. Click Update to update a plugin.
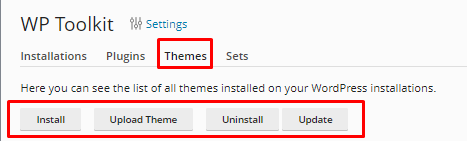
  4. Click on the “Themes” option:
    1. Click Install to install a theme.
    2. To Add a new theme, Click on the Upload theme button.
    3. To Remove a theme, Click on the Uninstall button.
    4. To Update a theme, Click on the Update button.
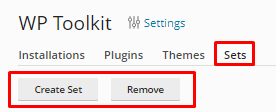
  5. Click on “Sets tab” option:
    Set
    1. To create new set, click on “Create Set”.
    2. To Remove sets, click on “Remove”.

In this way, you can easily use the WordPress Toolkit in Plesk. For more information, contact our support staff. Also, don’t forget to check out our latest bodHOST KBs.

Popular Posts You May Read

Explore more hosting insights, tips and industry updates.

How to Install VLC Media Player on Windows

VLC Media Player, commonly known as VLC, has become synonymous with versatile multimedia playback on…

Debian Dedicated Web Server Hosting and Security

Debian Dedicated Web Server Hosting Security Internet gateways are known to have the most threats…

Linux Loader (LILO)

It was developed by Werner Almesberger and was thereafter developed by the latest developer, John…