CMD Commands for Networking: Essential Tips
Networking issues can disrupt even the most stable systems, but Windows’ Command Prompt offers powerful…


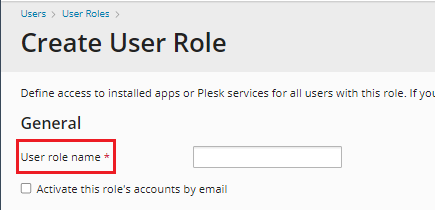
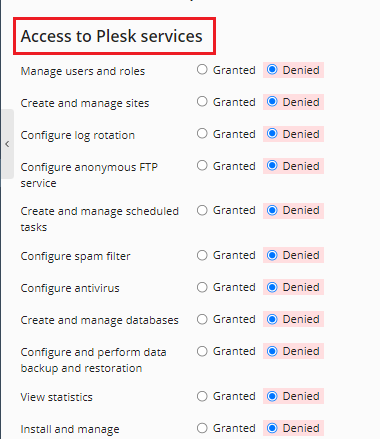
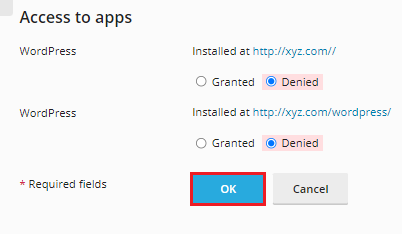
Are you searching for a way to manage roles in Plesk? If so, you’ve come to the correct place. We’ll teach you how to manage user roles in Plesk.
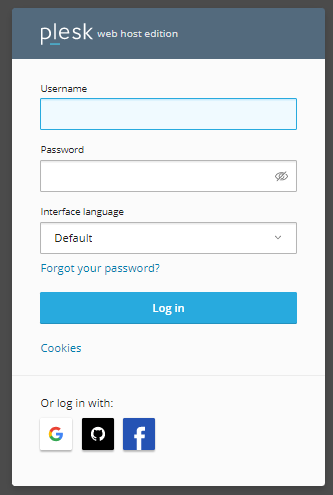
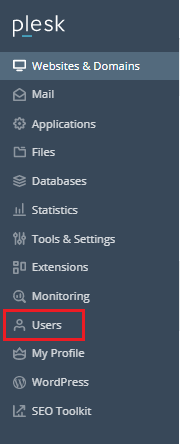
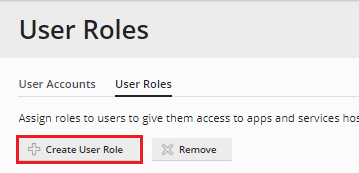
Follow the following steps to manage user roles in Plesk.

We hope that you now have a good understanding of How to manage user roles in Plesk. If you continue to have problems with the protocol outlined above, please contact the bodHOST Team for constructive assistance 24/7.

Explore more hosting insights, tips and industry updates.
Networking issues can disrupt even the most stable systems, but Windows’ Command Prompt offers powerful…
In Linux, a file “world writable” is a file that everyone can write. These files…
What is PHP? PHP is a popular open-source script language that incorporated into HTML and…