Spam Filter Customization Guide
Spam filter customization is essential to keep your inbox organized and secure. Proper configuration reduces…

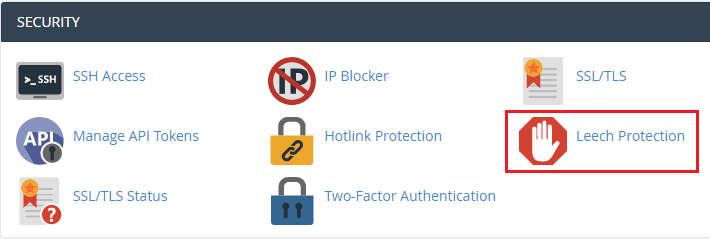
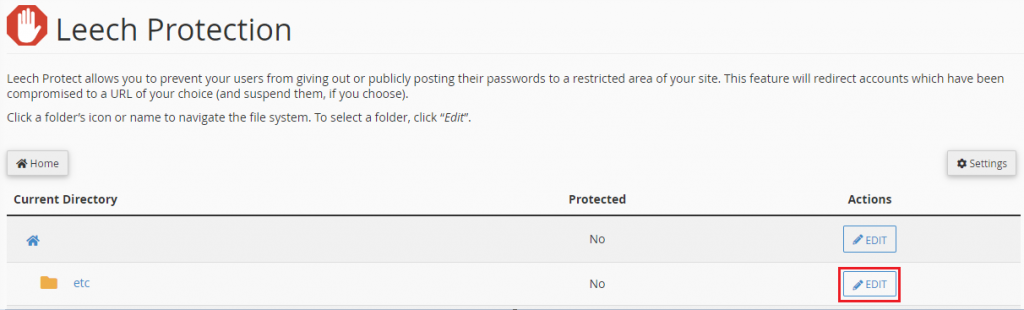
This post will show you how to activate Leech protection in cPanel.
Let’s look at how:
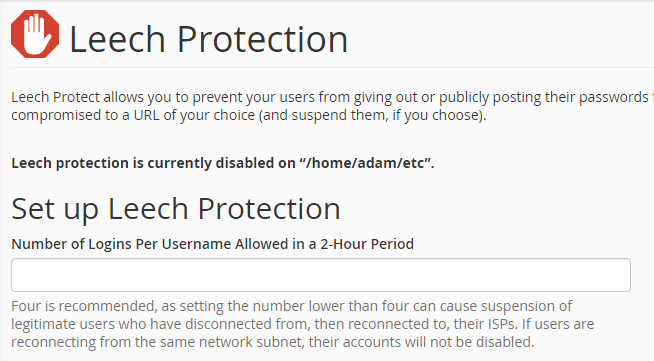
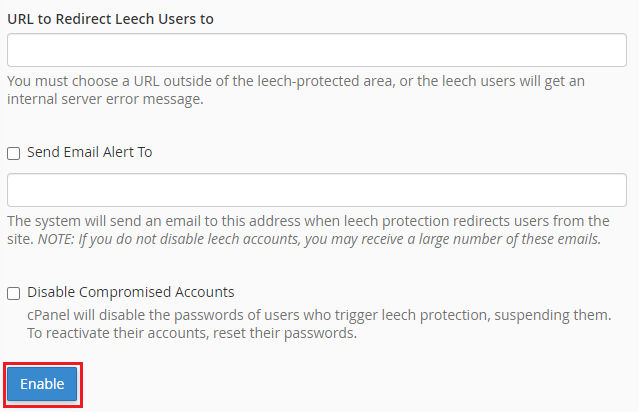
You can configure Leech protection in cPanel in this manner. If you are still struggling with the above-mentioned steps, please contact the bodHOST Team for assistance. Seven days a week, twenty-four hours a day.
Explore more hosting insights, tips and industry updates.
Spam filter customization is essential to keep your inbox organized and secure. Proper configuration reduces…
You might be getting software updates several times. Though knowing it’s important, you might be…
This guide illustrates how to install and uninstall VS code using APT on Ubuntu. Visual…